Hello and welcome to papercraftsbyhannah and on this week blog we will be looking at […]
Hello and welcome to papercraftsbyhannah and on this week blog we will be looking at the bright and beautiful bundle.
This is was one of my first suite I got because I thought this was bright and colorful and perfect for birthdays but it also shows off all the new returning and new colors.
In this suite you will get the stampset and the dies and the dsp but you will also get the acetate which is perfect for the suite to make shaker cards and more.
The colors that have returned are :
Lemon Lolly
Bubble Bath
Lost Lagoon
Fresh Freesia
Pecan Pie
Misty Moonlight
Blueberry Bushel
Pretty Peacock
Lemon Lime twist
Berry burst
Azure Afternoon
The DSP in this bundle has all the colors .
I have made some examples using his suite
Here is my Facebook live replay for you if you missed it .
Thank you for reading if you have any question please get hold of me but also follow me on all my social media .
See you all next week when I have another Facebook live .
Hello Everyone and welcome to another blog hop and this month for April we will […]
Hello Everyone and welcome to another blog hop and this month for April we will be looking at square cards.
I have made a few square cards using the County floral suite with the stamp punch and papers .
You are able to make small square cards and even larger ones. To make the larger one you cut the base card at 29cm x 14.5 cm and score at 14.5 and the smaller square card it is 20cm x 10cm and then score at 10cm .
To make the next layer is to cut off 5cm so larger square is 14 cm x 14cm and the smaller one is 9.5 x 9.5 you keep doing that for every new layer.
The products i used to make these cards are
stylish shapes
country bouquet stamp and punch
country floral DSP
Popy parade card and ink
memento ink
garden green ink
mossy meadow card stock
Balmy Blue card
Mint macron card
Here are my examples that i have made
Thank you for reading please check out the other blogs listed below to see what others have created.
Hello Everyone and welcome to my Blog my name is Hannah I have been playing […]
Hello Everyone and welcome to my Blog my name is Hannah
I have been playing with the Dainty Delight DSP and stamps and Dies . Below are sone samples using this set but the papers are only available until the end of February.
I started of to make a 12×12 One sheet wonder using the papers.
which I cut using a tutorial That I have had before
It was designed by my Upline Pip from Queen pip cards
All I have changed up everything from the originals.
I decided to make my own 12 x 12 design
I have then got a bit of 12 x 12 backing from the dsp packet started to measure my own one ( Pictured below)
Note : The middle panel you can cut it at cm and have 2 at cm or just cut at 3cm and cut the end off
Next i decided to make a 6×6 cutting measurement,
You just need to cut it at 15.2 x 15.2 which is also pictured below.
I have Made a few examples using the DSP stamps and Dies.
Here is a copy of my Facebook live to show you all how i cut my dsp up for the one i made
Hello Everyone and happy February This month is all about love and valentines day and […]
Hello Everyone and happy February This month is all about love and valentines day and this month i will be taking part in the Suite heart Global Blog hop and this month theme is Valentines day.
The Project I am showing you is made using the turtle from in playing in the rain and the letter dies called Alphabet A’ La Mode .I have also used the Conversation bundle plus the flower & more papers which are a host set from the January- April Mini Cataloger 2023
Tutorial
Measurements and instructions
Cut the Polished pink at 14.9 cm
Cut the 1st layer of basic white at 14.4×10 cm
Cut the flowers & More dsp at 14.4 x 4.5cm
Cut a scrap basic white and stamp the playing in the rain turtle in memento then colour in
stamp the speach with the 3 hearts in popy parade
die cut the turtle using the playing in the rain dies and die cut the speach bubble using the conversation dies.
Die cut the I LOVE YOU words in the Alphabet a’ La Mode dies in Popy parade and polished pink .( Tip- Use the adhesive sheets on the back of the card to die cut the letters.
Put all together By sticking the basic white on to the polished pink card stcock base and then add the DSP to the basic white
Stick the words I LOVE YOU at the top pf the card before sticking the turtle using adhesive dimensional the bottom
add tje heart conversation bubble near the turtle and then add some heart pearls
.Hello Every one and welcome to paper crafts by Hannah and this week i will […]
.Hello Every one and welcome to paper crafts by Hannah and this week i will be sharing with you my Top 8 basic Essentials for cardmakers to get you all started
1. Clear blocks -Perfect for stamping
2. Paper snips- These are perfect for small pieces of cutting or cutting ribbon and more. They have a protective cover on to keep hand save as they are sharp.
3. Bone Folder- perfect for making sure card are scored light to make sure the card is flat
4. Stampin up scrub and Mist- This is Perfect for cleaning used stamps.
5. Memento Ink- This is perfect for coloring.
6. Take your pick tool-Perfect for getting sequin up and everything there a spatuler end a scoring end and pokey end.
7. Paper trimmer -Perfect for cutting all card stock to size.
8.Glue-Perfect for sticking anything down from wet glue to dry glue to glue that lift the paper up.
If you are interested in buying anything please feel free to head over to my store to find out more.
For a limited time this month stampin ‘ Up1 Have brought out an amazing collection […]
For a limited time this month stampin ‘ Up1 Have brought out an amazing collection which include 2 stamps sets called framed and festive frames and framed floret there is also a pack of 12×12 DSP ans Gold Adhesive backed swirls. The Framed floret stamp is a sneak peak stamps set from the new mini Jan-April 2023 cataloge.,
I have made 3 cards using this bundle the first one i used Basic white thick card stock for the base and then cut the balmy blue DSP at 14.9×4 cm and then i die cute the ovals shown in the picture using the framed Dies that come with the collection . I then used the basic white to cut out the small oval and stamped the flowers then coloured them in the stampin’ Blends.
The next card i used the night of navy card stock cut at 14.9 and scored at 10.5 i then cut the balmy blue card stock at 14.4x10cm and then cut the dsp at 13.9×9.5cm and then u cut the ovals inight of navey and balmy blue and basic white, I then stamped the words in Night of nave,before putting the balmy blue and dsp on to the base add some ribbon arounf the top and botton and make a bow at the top.
The third and final card i made was cut the base in polished pink and then cut the basic white card stock for the 2nd matt layer before cutting the dsp for the 3rd matt layer i then cut the ovals in 2 different dsp colours and then cut the basiic white oval and stammped the words in black and the flowers then colored them in .
all 3 cards used the Adhesive black swirls that also comes in the bundle.
Did you know we have some crackers and treat dies in the annual cataloge 2022-2023 […]
Did you know we have some crackers and treat dies in the annual cataloge 2022-2023 . I have created 3 different sizes using the dies .
These are what the Dies look like !
The picture below is the small version using just die cut with the cracker dies.
what i did was put the die in the cut and emboss machine and then i i folded the score lines to burnish them and then i started to assemble and then stuck some tear and tape on one edge and stuck it together before adding some ribbon to the ends.
To make the slightly bigger version I used the dies and cut two cracker shapes and then i cut the end where the Ribbon would go on one end of both die cut I Then burnished the folds and then i used tear and tape and stuck them together before sticking some more tape on the long edge and turned it in to a cracker before putting a bow with the ribbon one the ends.
To Make the fatter one I die cut 4 cracker dies and then cut the end of all 4 cracker but just one end i then stuck them together so 2 next to each other i then stuck it together with tear and tape before makeing sure all 4 are together before turning it in to a cracker and sticking some ribbon on .
to shop the dies go to my store over on https://papercraftsbyhannah.stampinup.net/
please contact me if you have any question or would love to know more about stampin’ Up!
Did you Know Stampin’ Up! Sell Kits? if you answered no then I can tell […]
Did you Know Stampin’ Up! Sell Kits? if you answered no then I can tell you that we do . We have many kits from stamping to no stamping perfect for beginners and advanced crafters. They are perfect for gifts for adults and even teenagers.
These kits will make a positive difference in many people lives because they will get hand on experience with the product just using the kits.
In the kits you will receive card basses and envelopes if it stamping one you will get a block stamp and a ink spot . You will also get embellishments and die cut pieces and sticker all to create the cards.
when building with the kits you will have a sense of control on how you would like it made and what kit you would like to make. You will also have easy instruction to be able to complete these projects. The kits are also great for if you have little time or even not a lot of space as they do not take up to much room. All of the Kits are Easy to assemble.
Here is a list of our Current kits we offer that are Stamping kit
Timeless greeting card kit
Cozy And bright
Birthday card merganser
Christmas Gifting kit
Love this memory note book
The Best remedy
A Million Thanks
Kindness cards
Robot Buddies card kit
Light the Candle
Love santa tag kit
Christmas whimsy card kit
Sentimental Rose Card kit
No Matter the weather
A little smile card kit
lets party packaging kit
You are my Anchor
For the guys
We also have these Non stampin kits on offer aswell
Celebrate today Magnetic board
Petal note card kit
Notes of cheer card kit
Kercheif card kit
Precious Parcel card kit
if you would like to choose a kit go to my shop to order or contact me for more informations

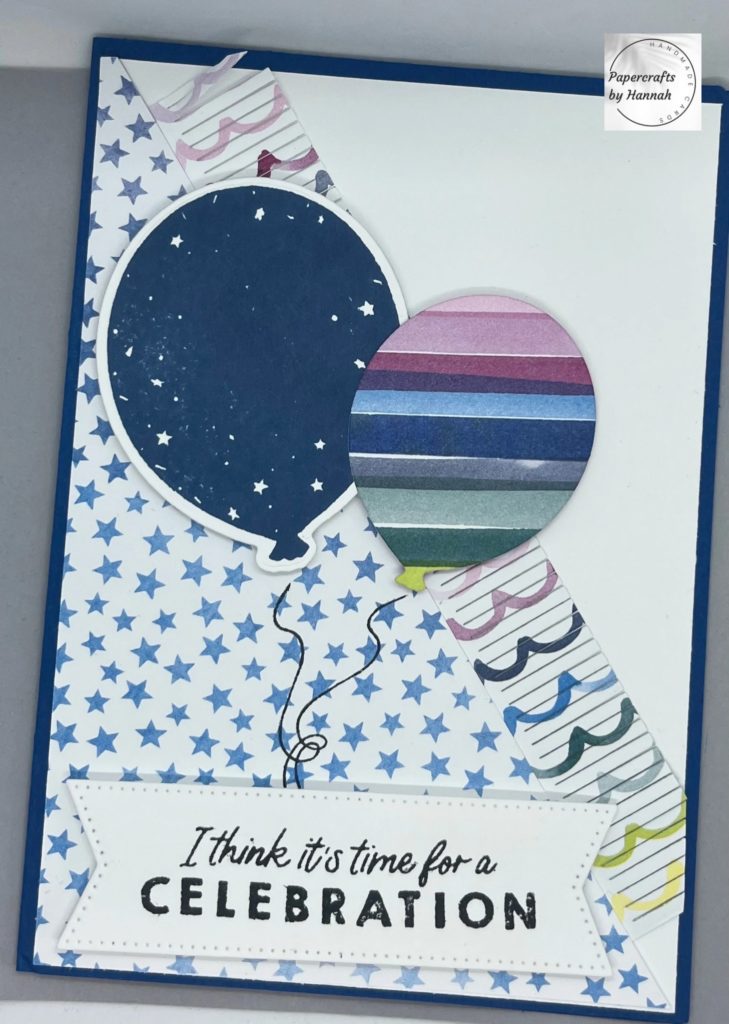
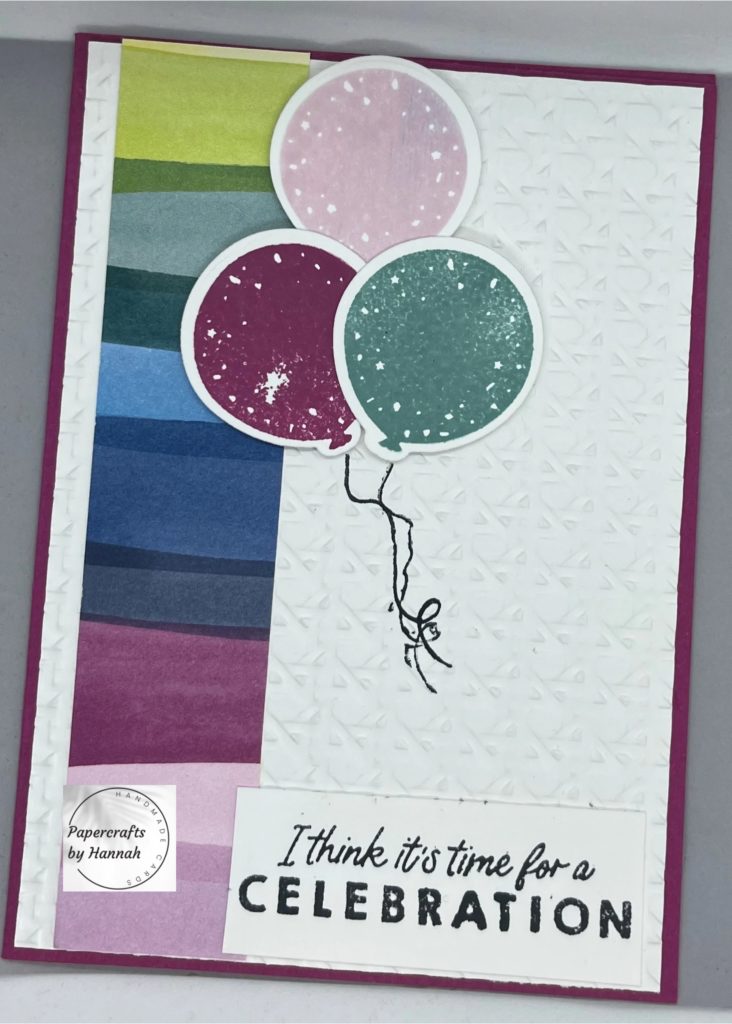
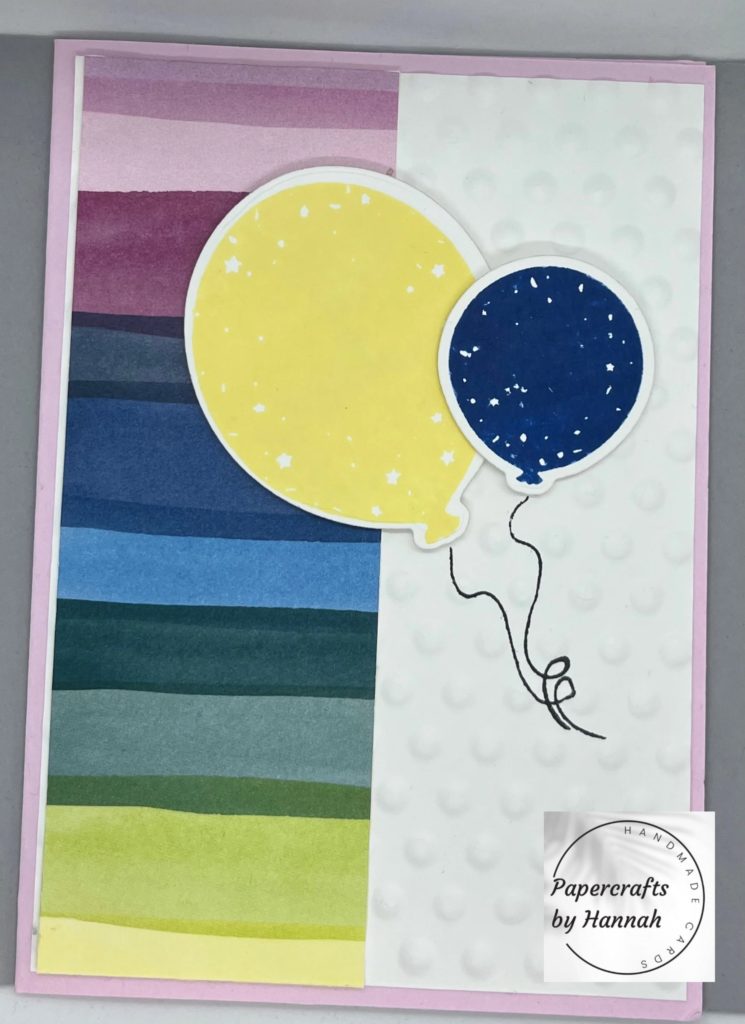
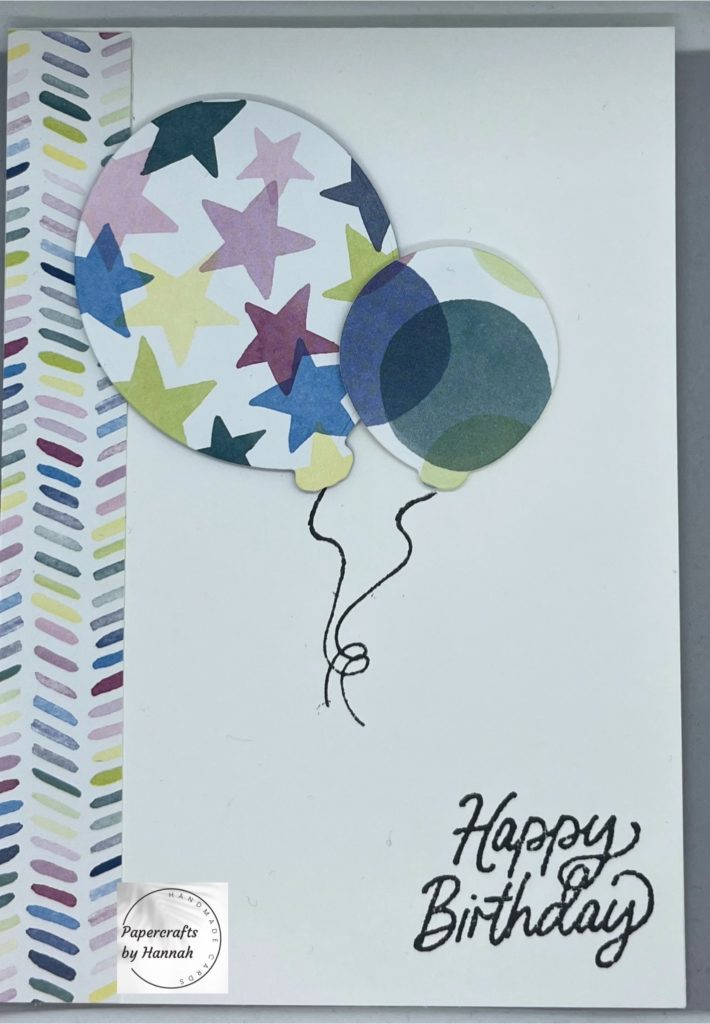
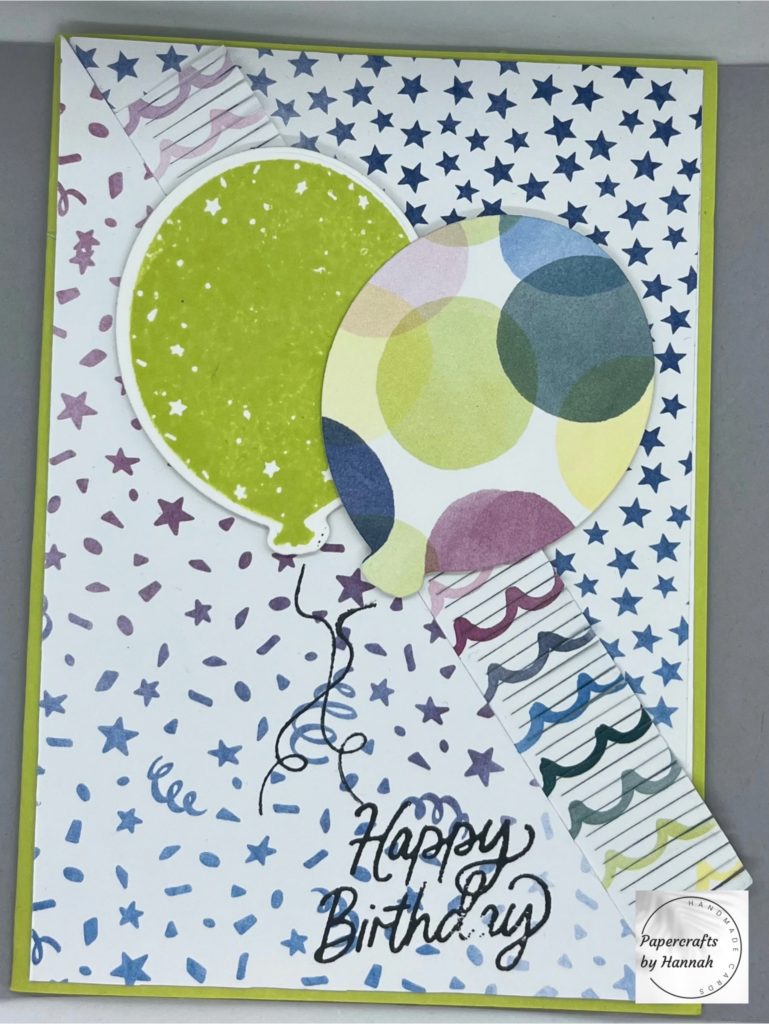
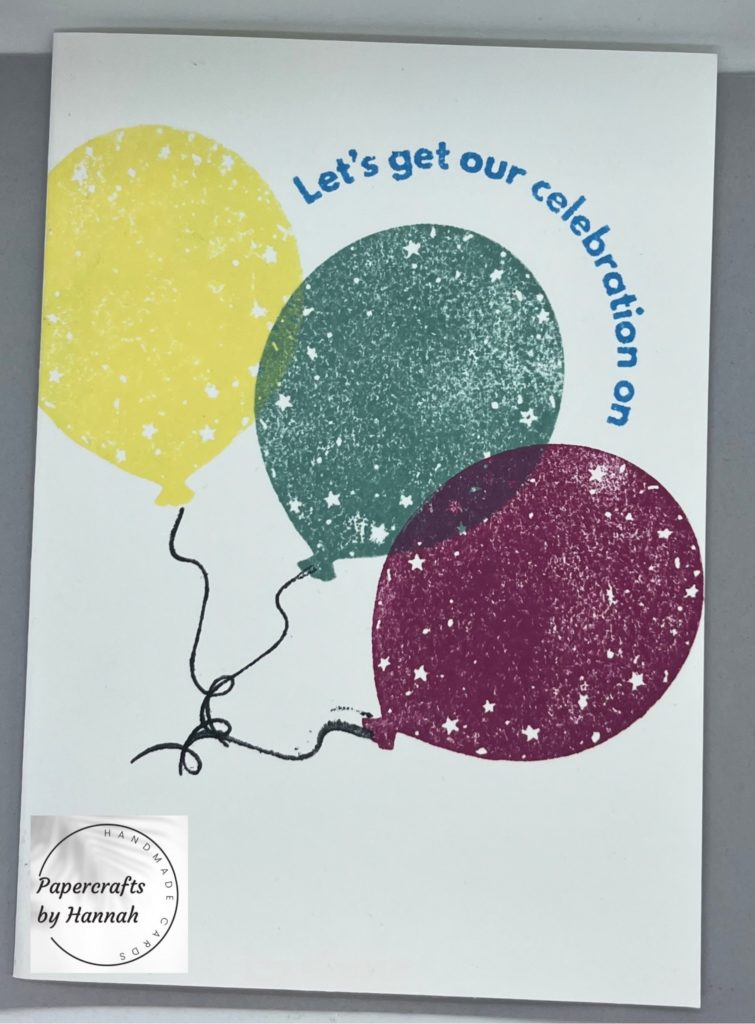


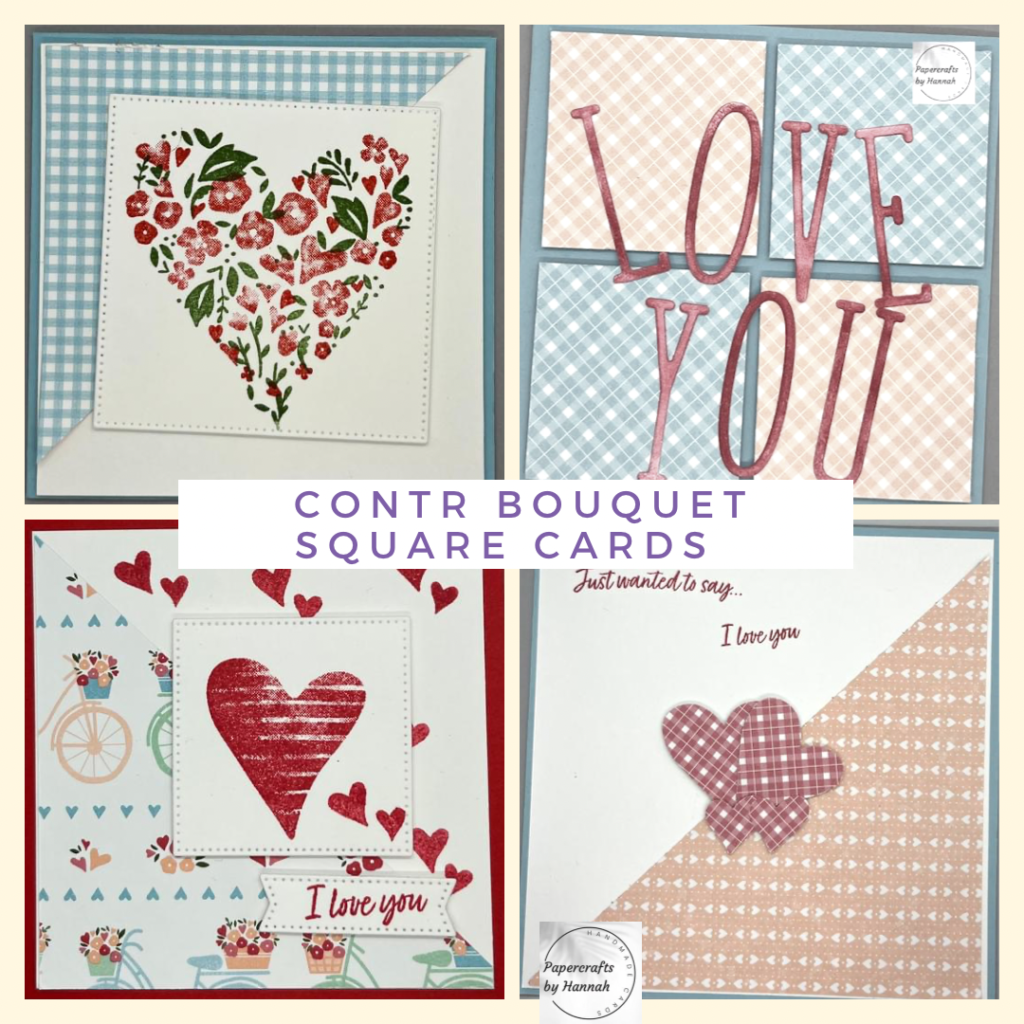
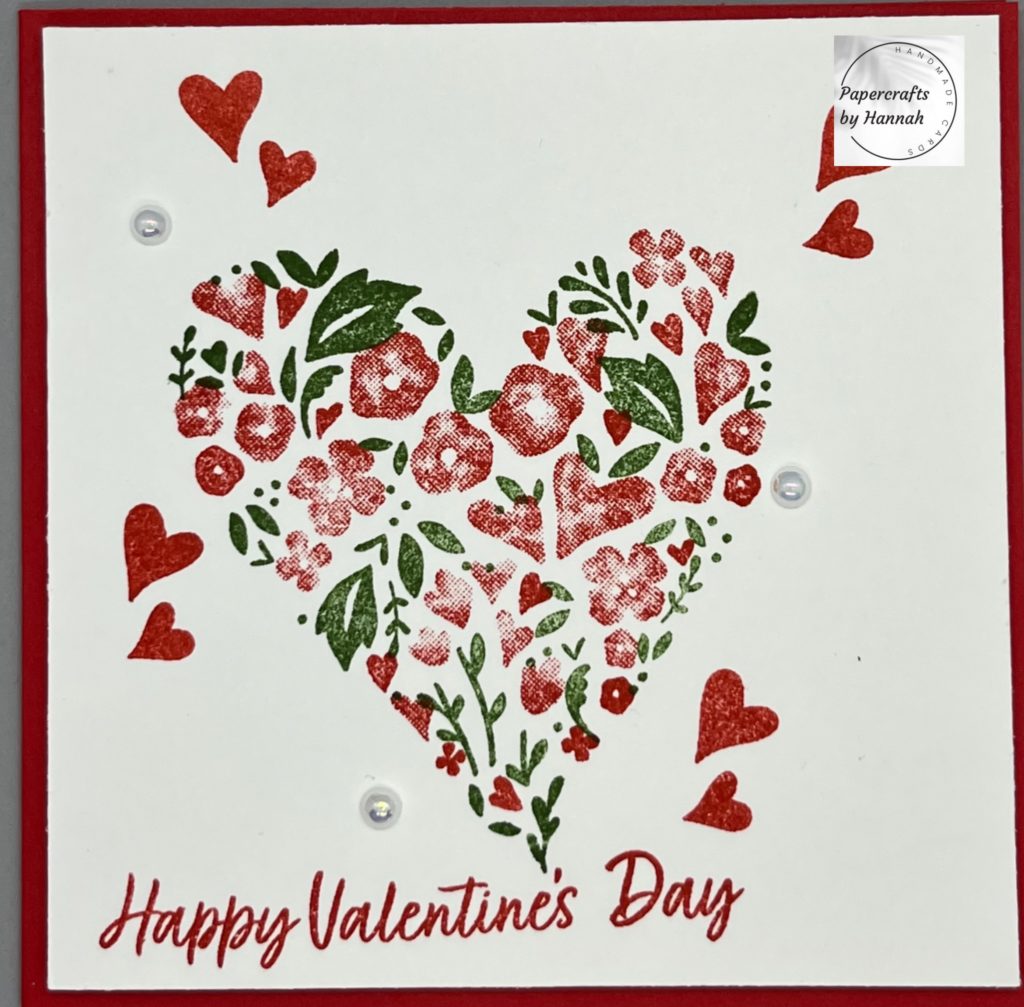
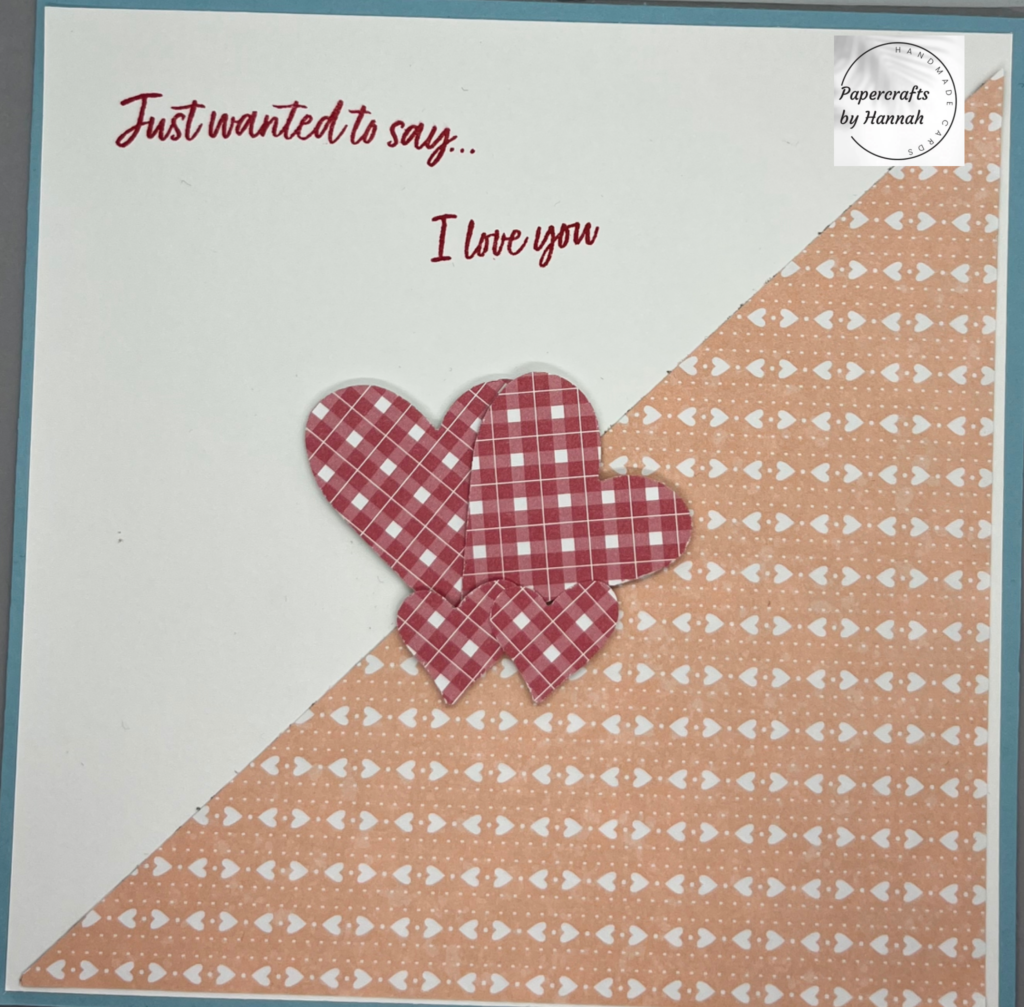
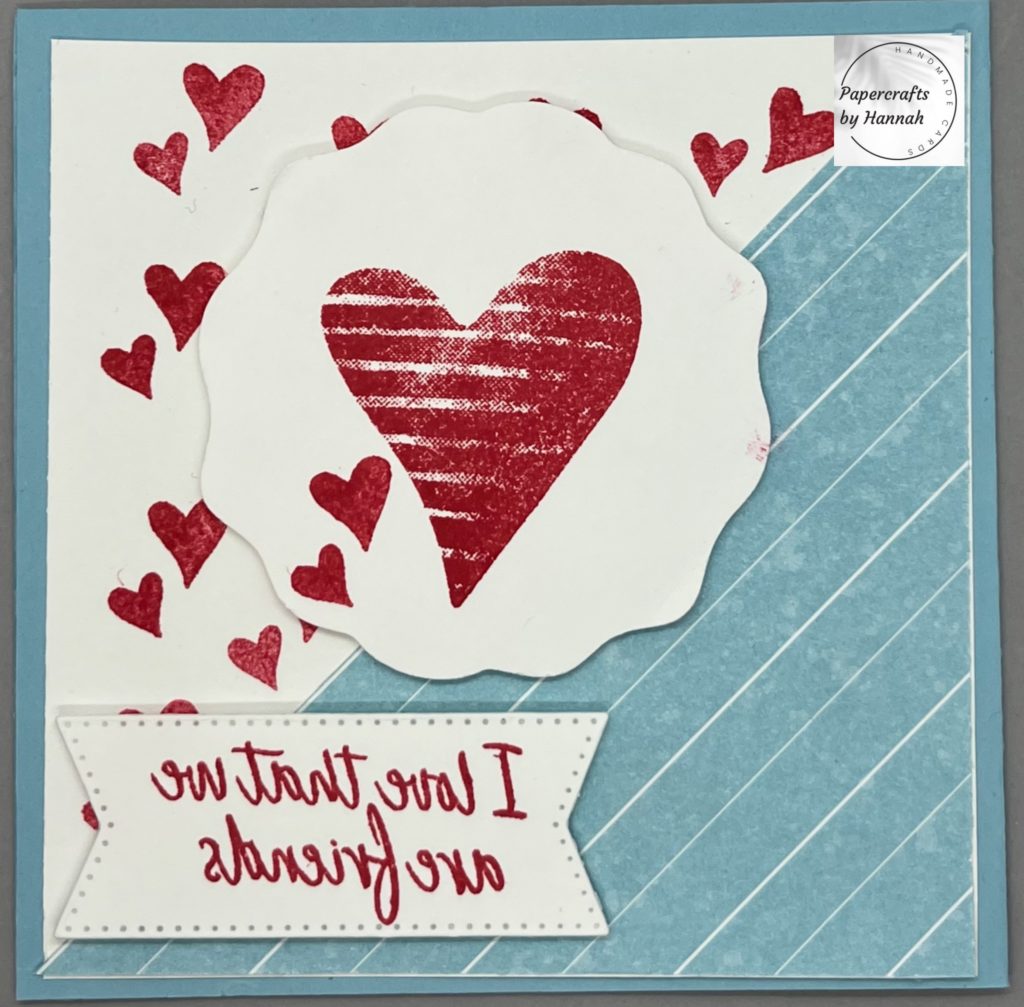
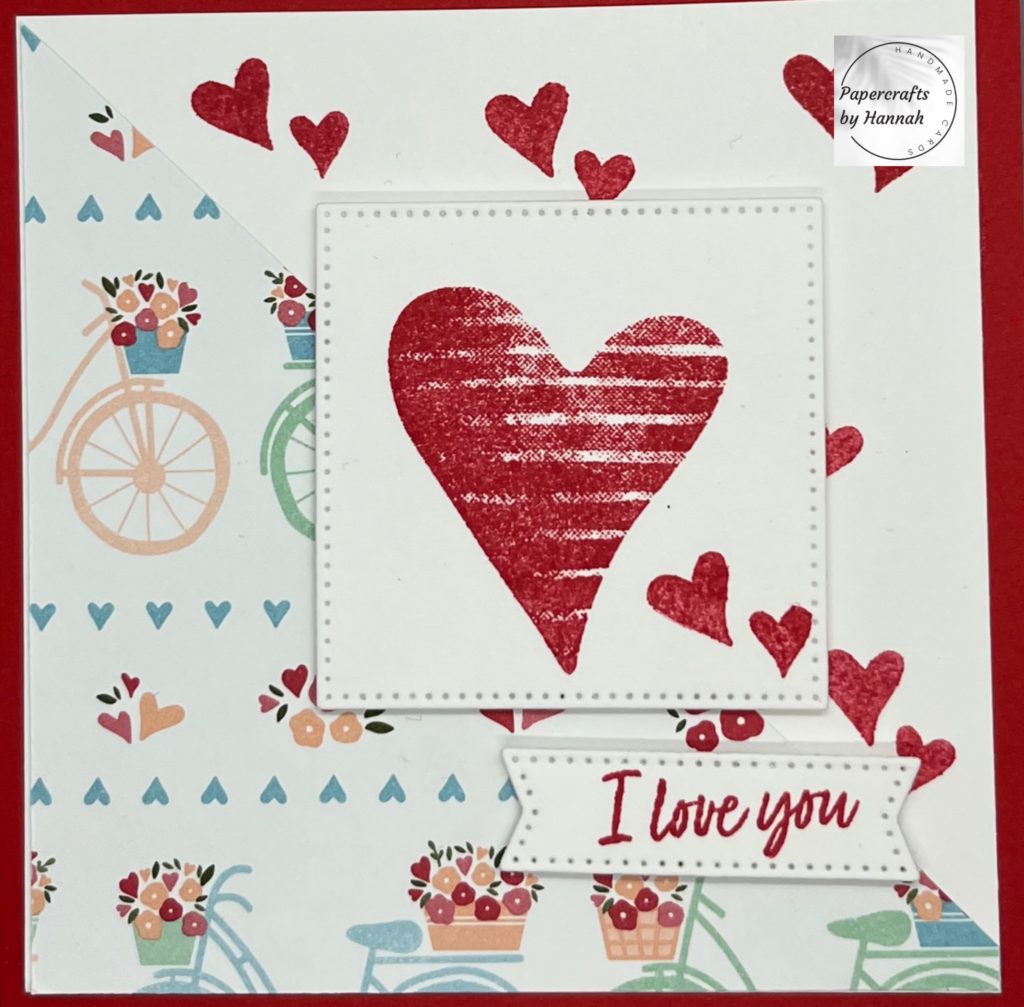
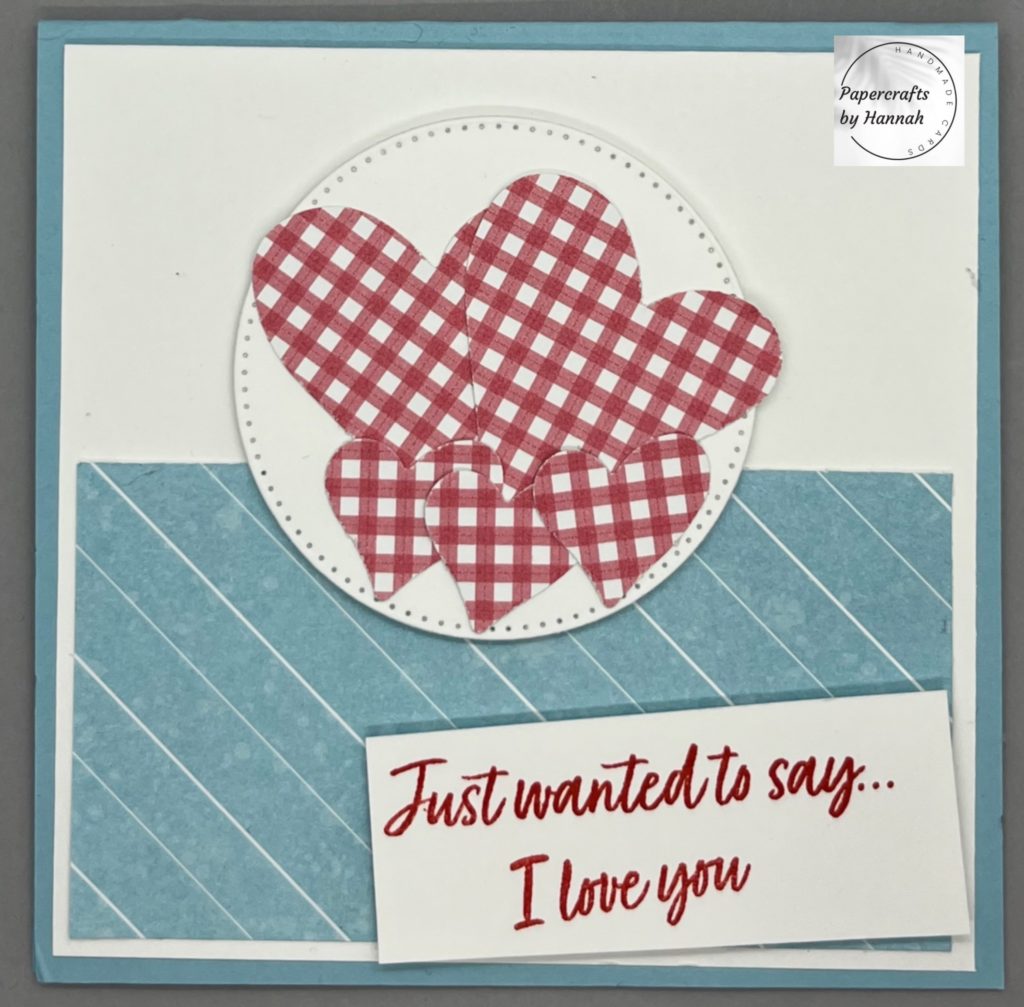
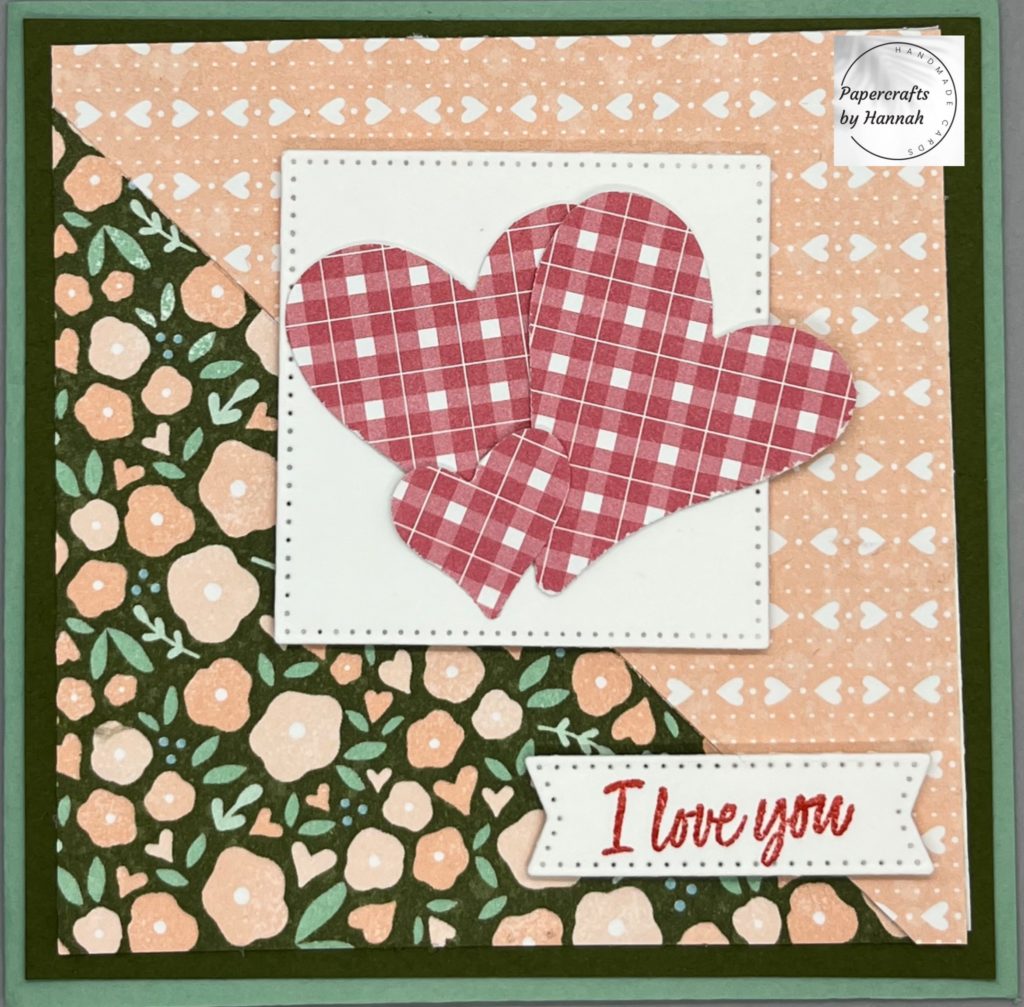
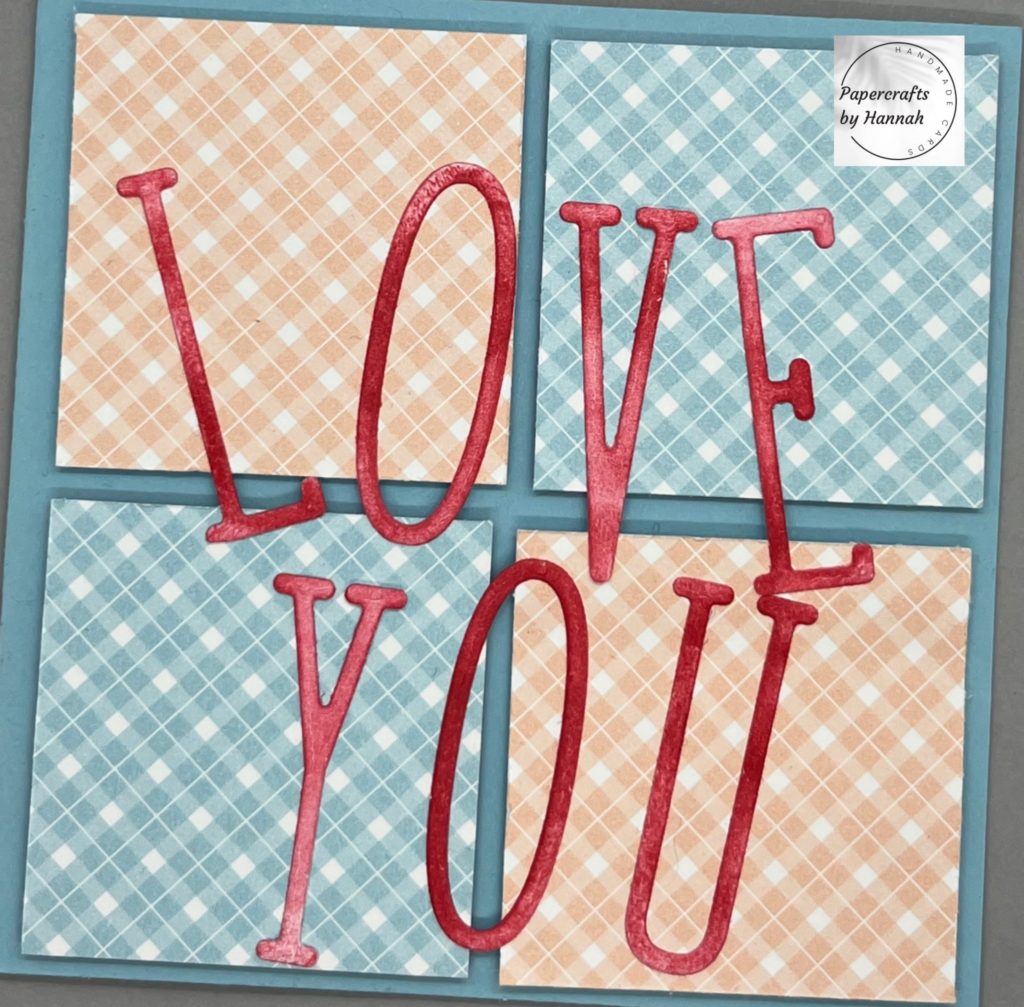
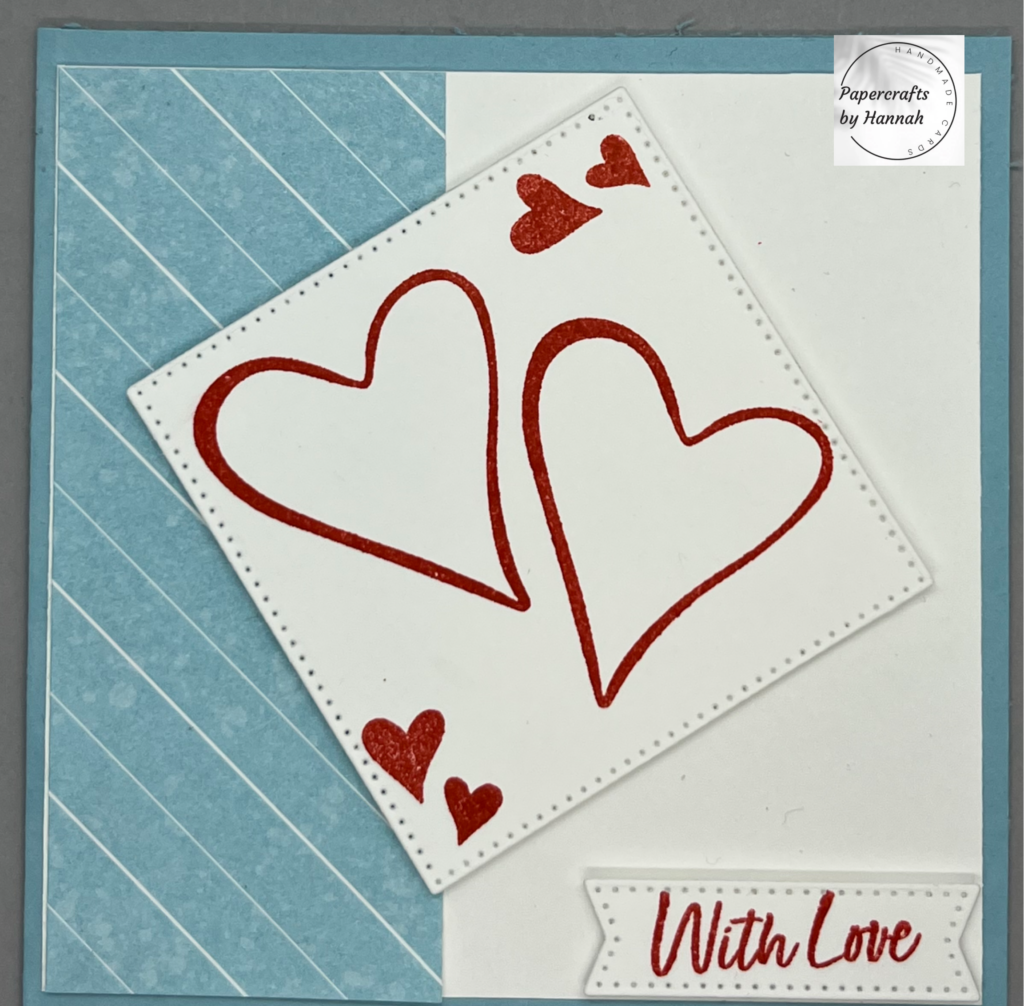
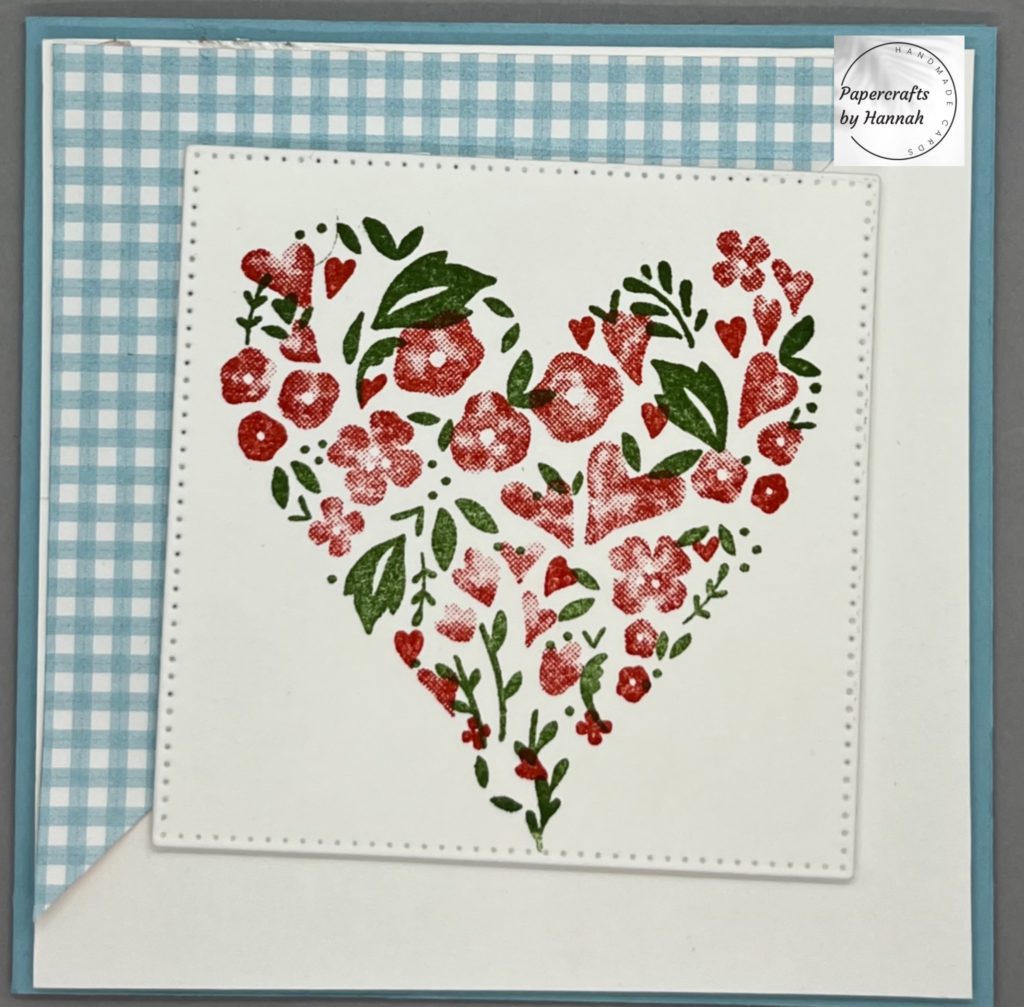

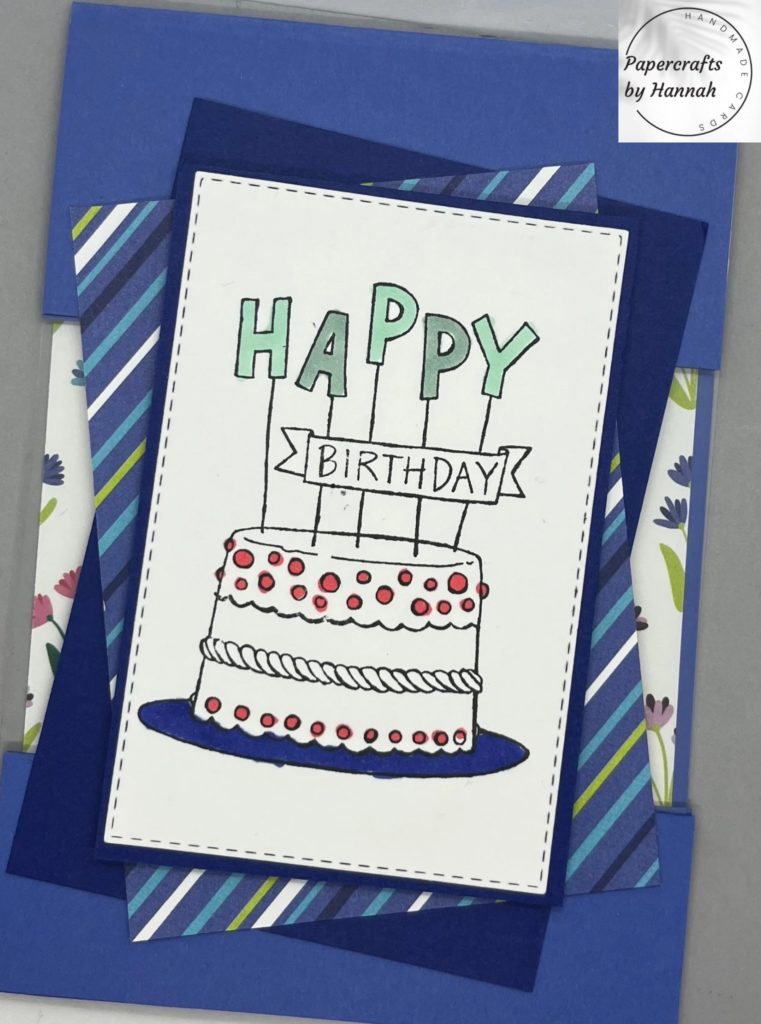
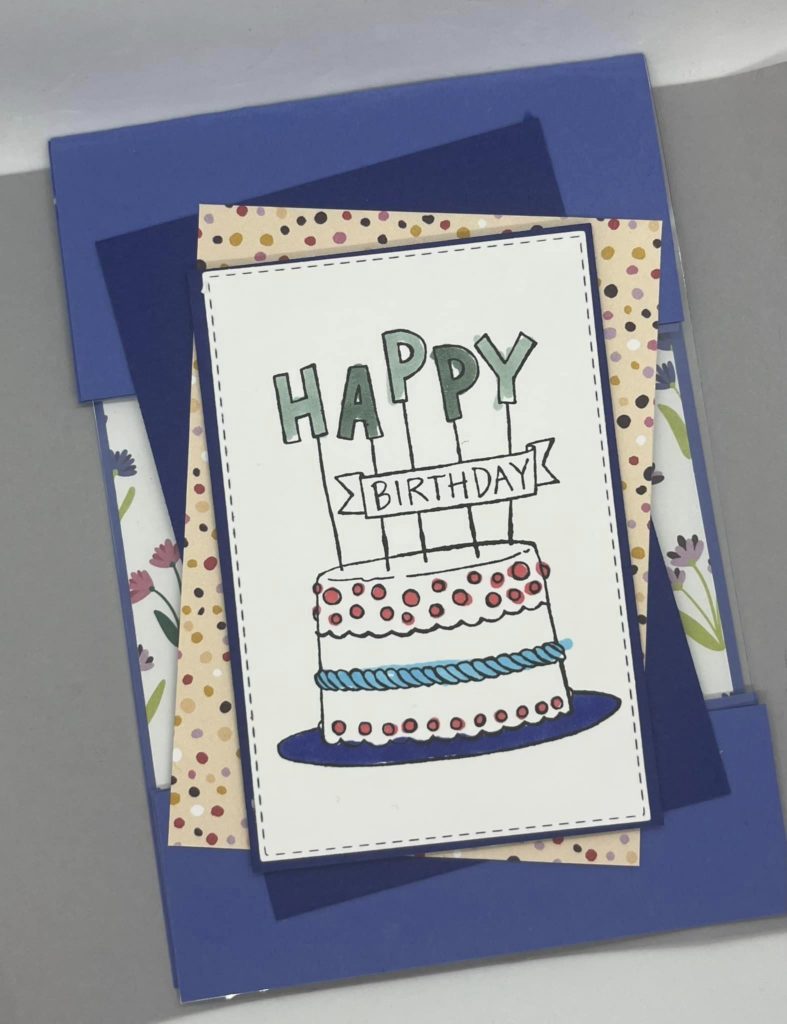
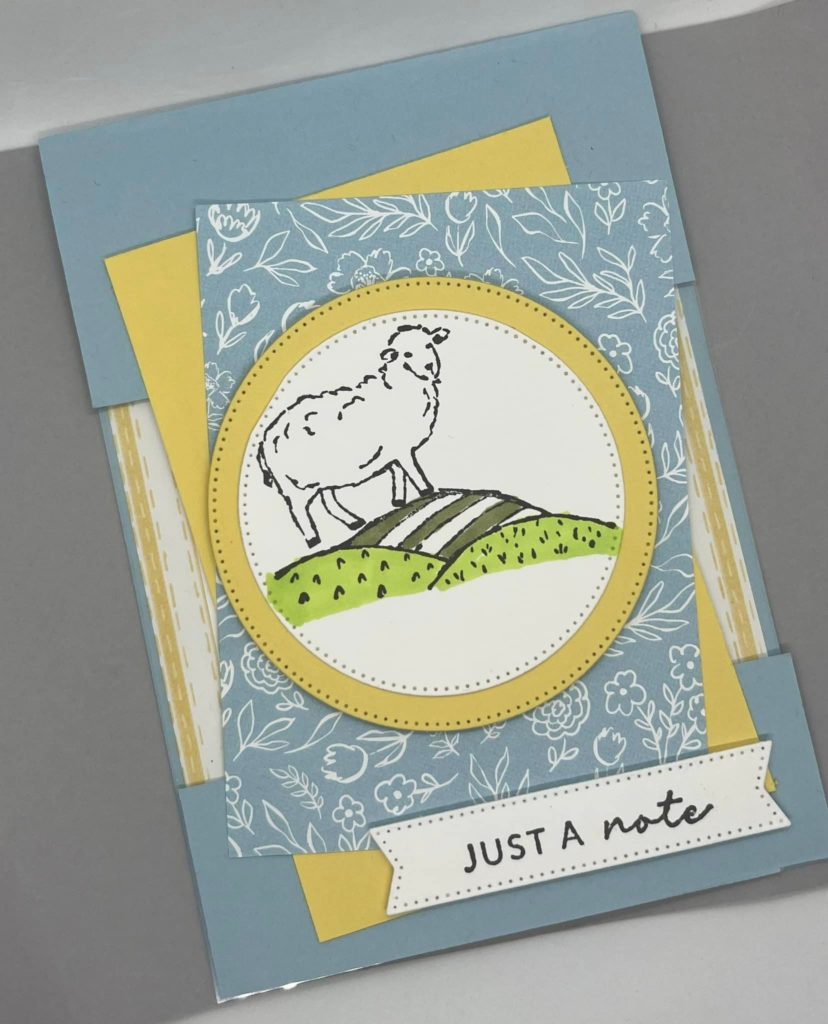

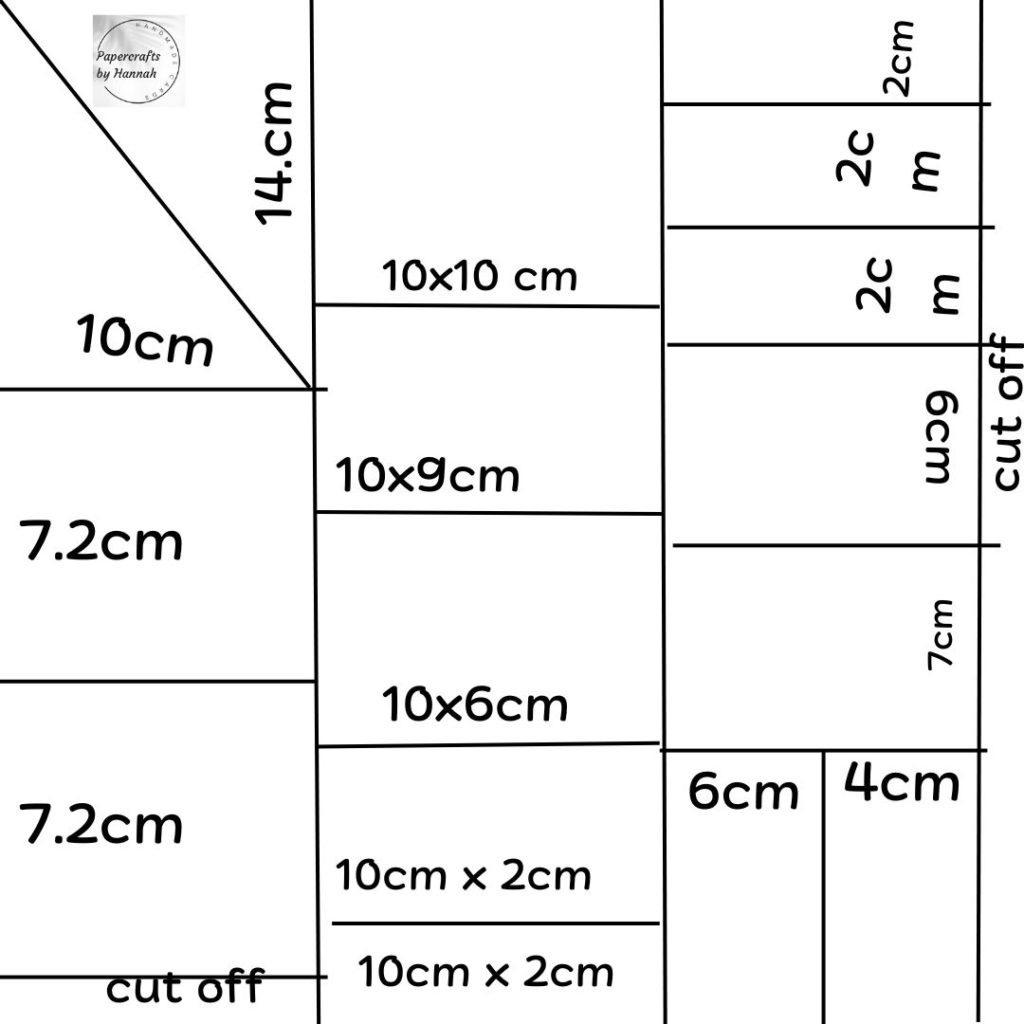
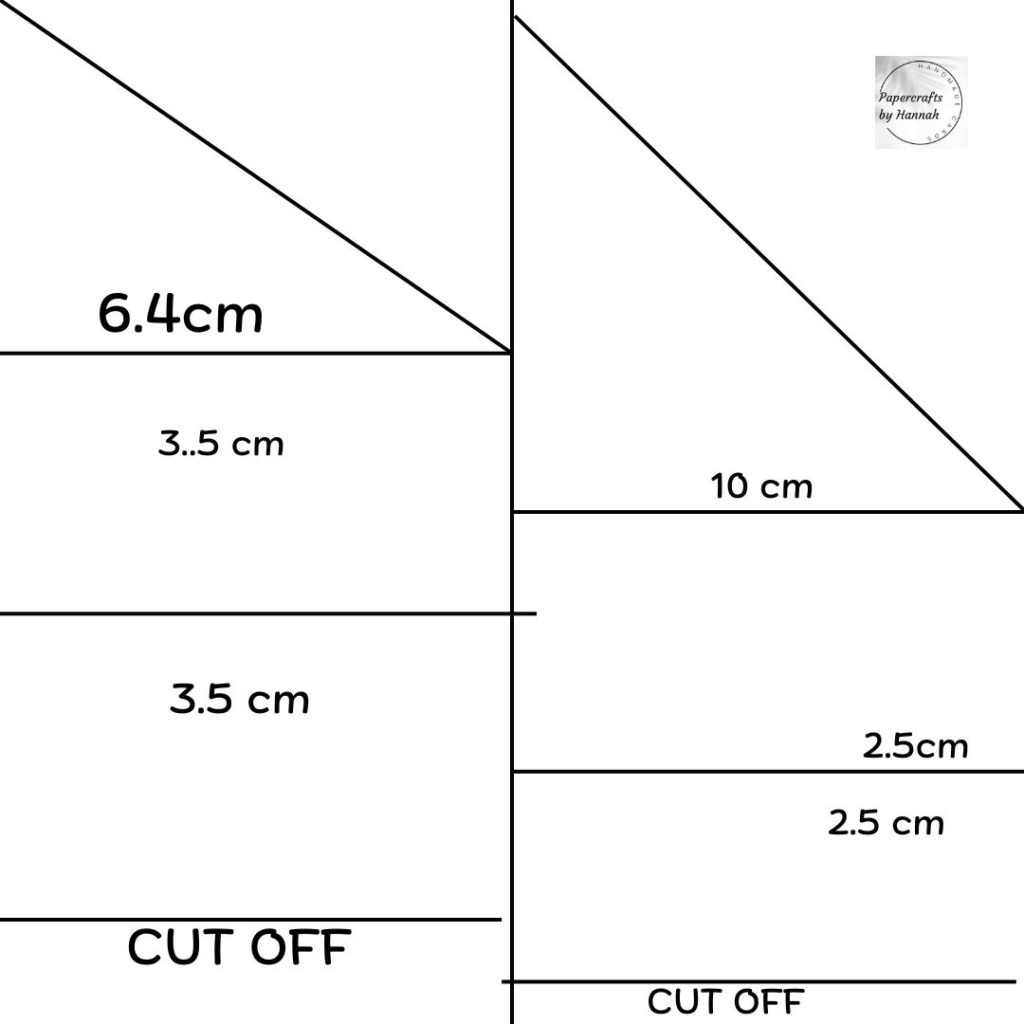
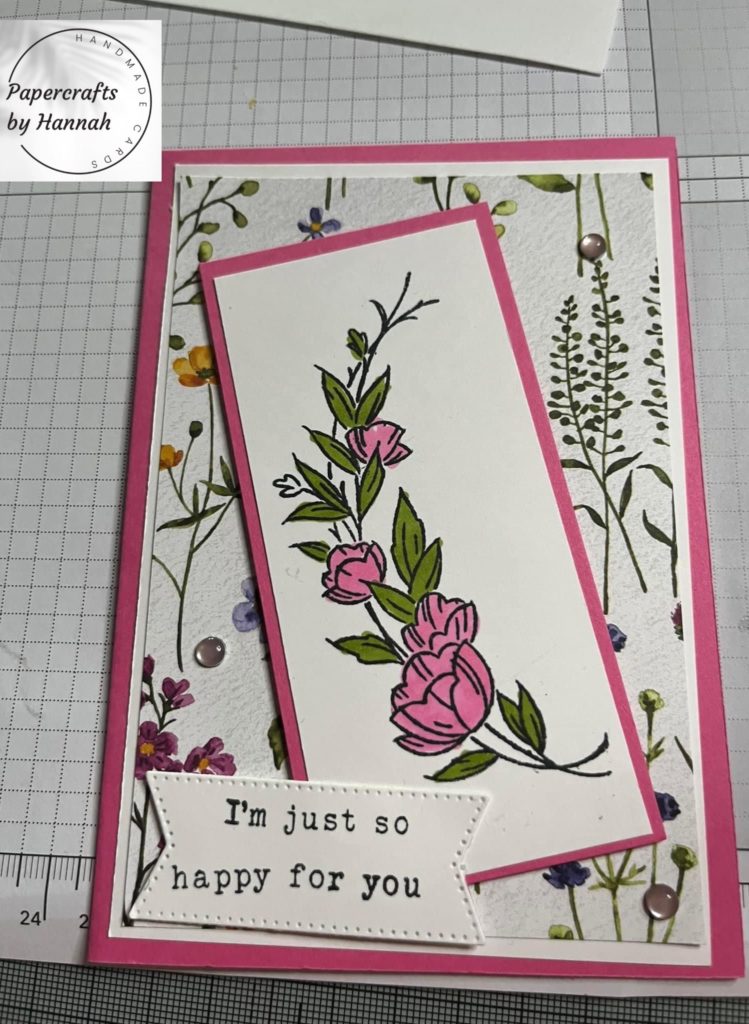
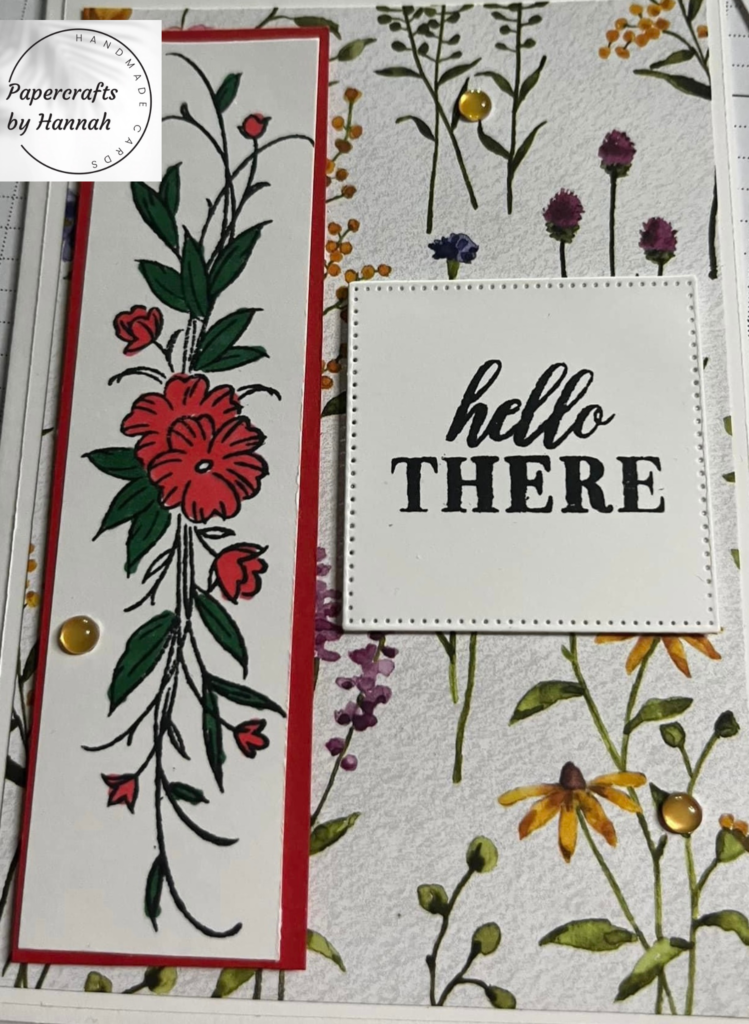
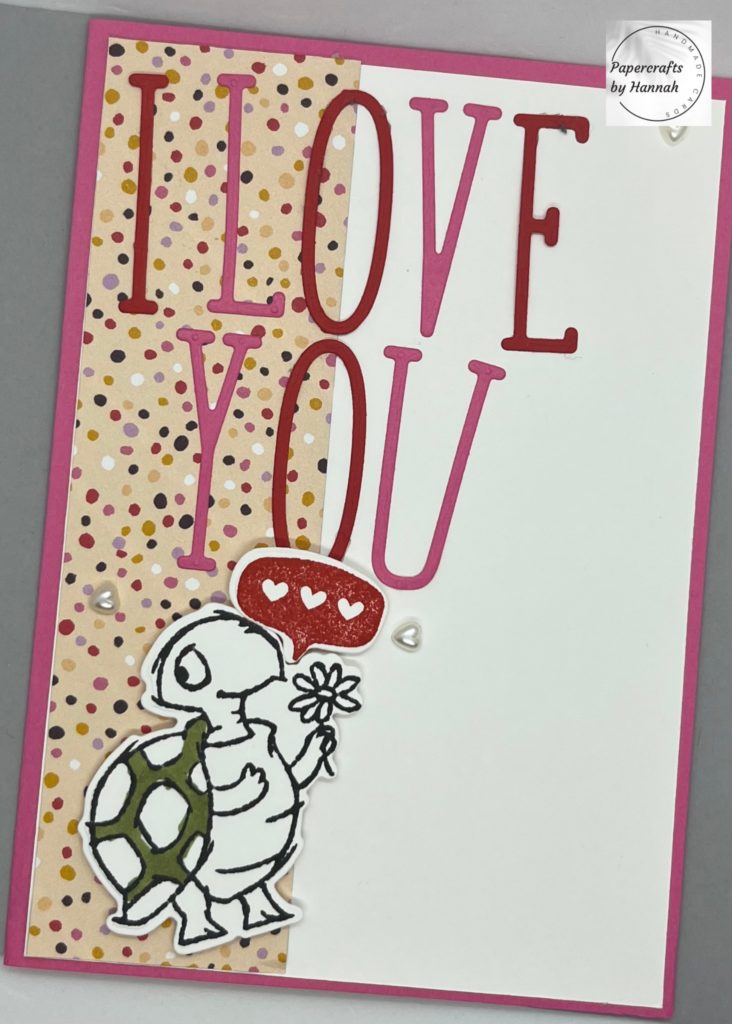
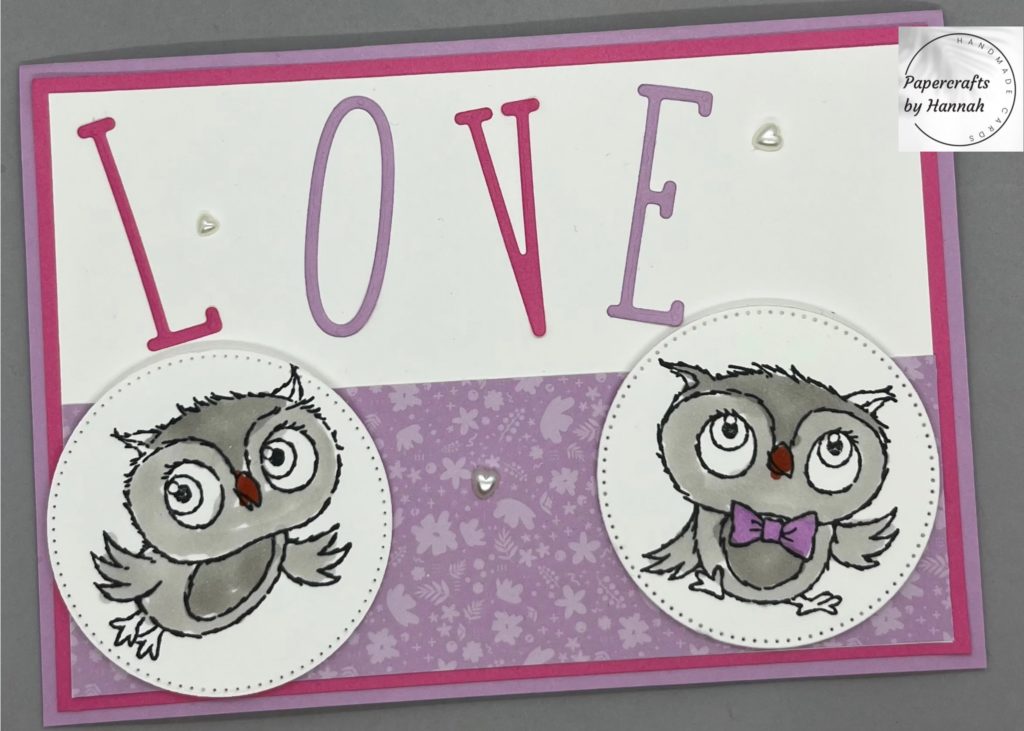

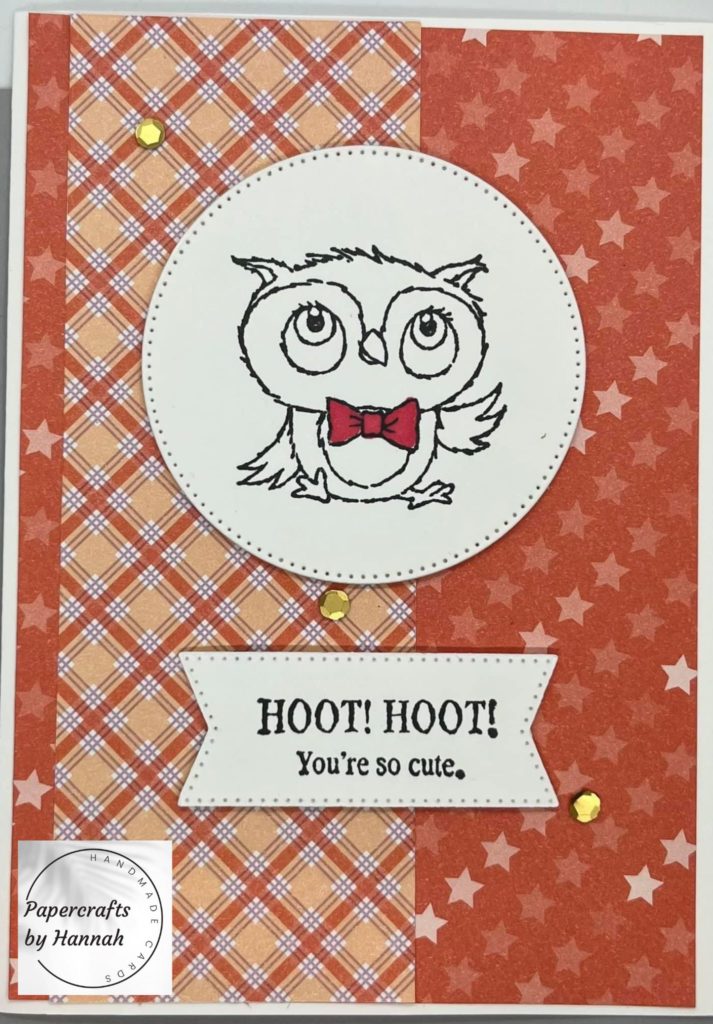
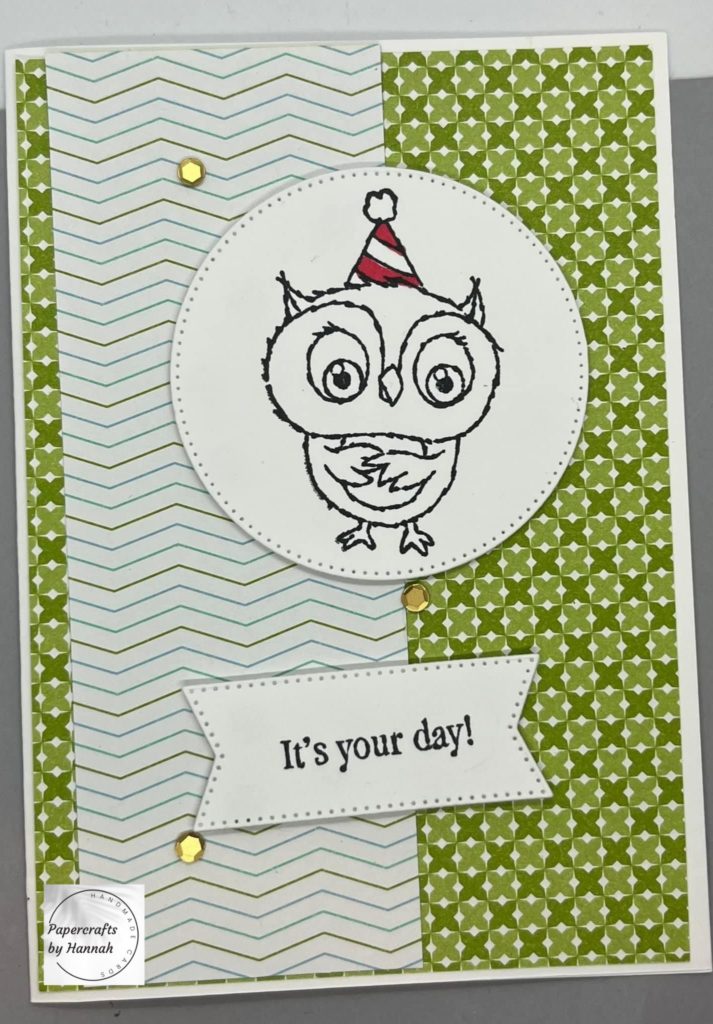
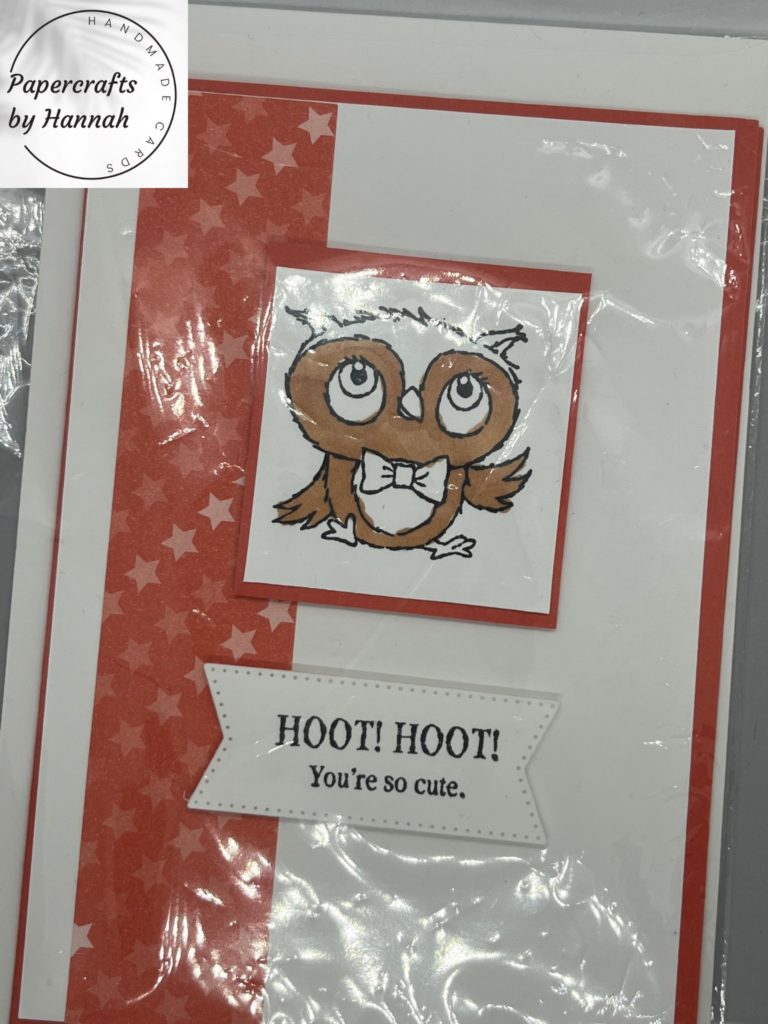
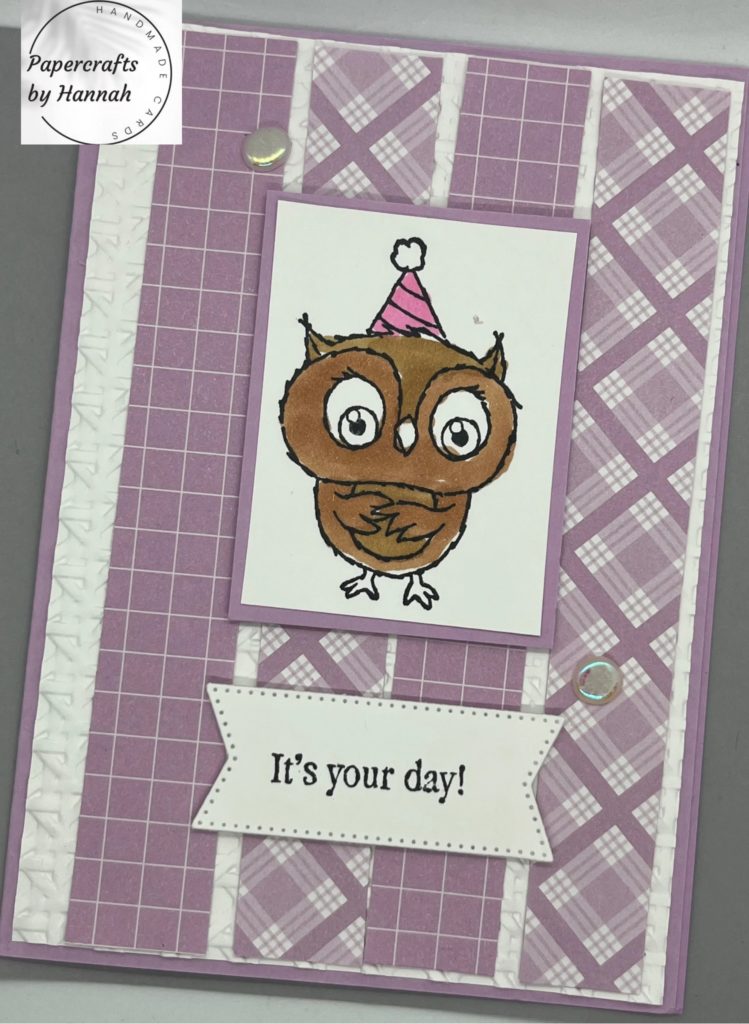
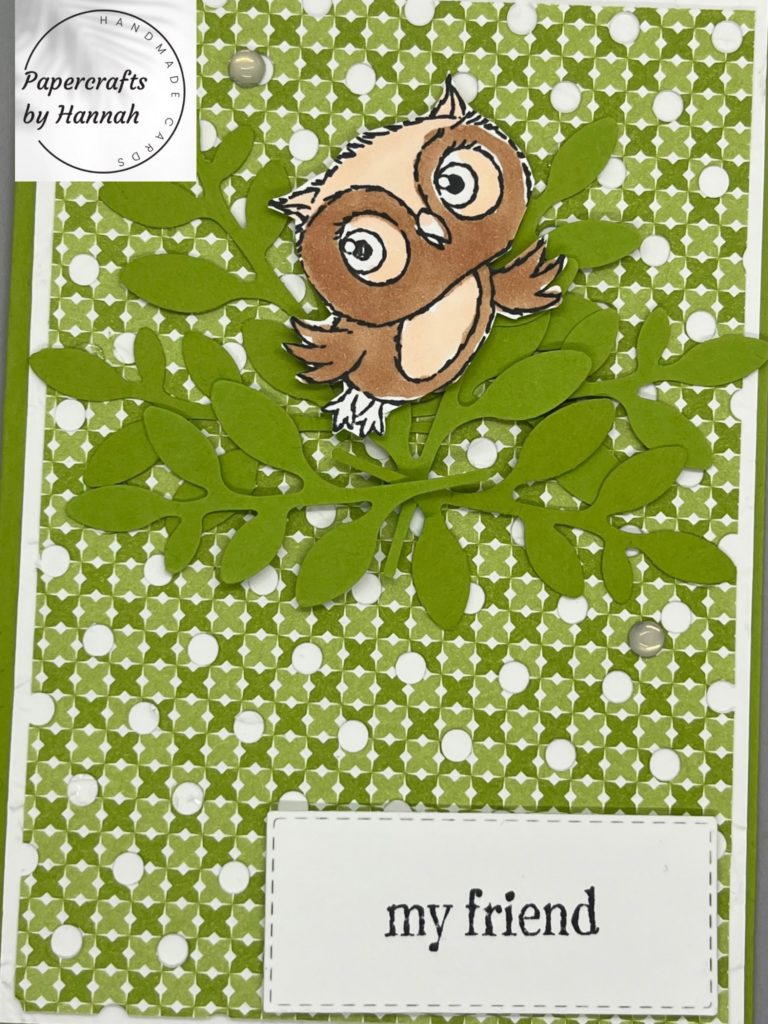

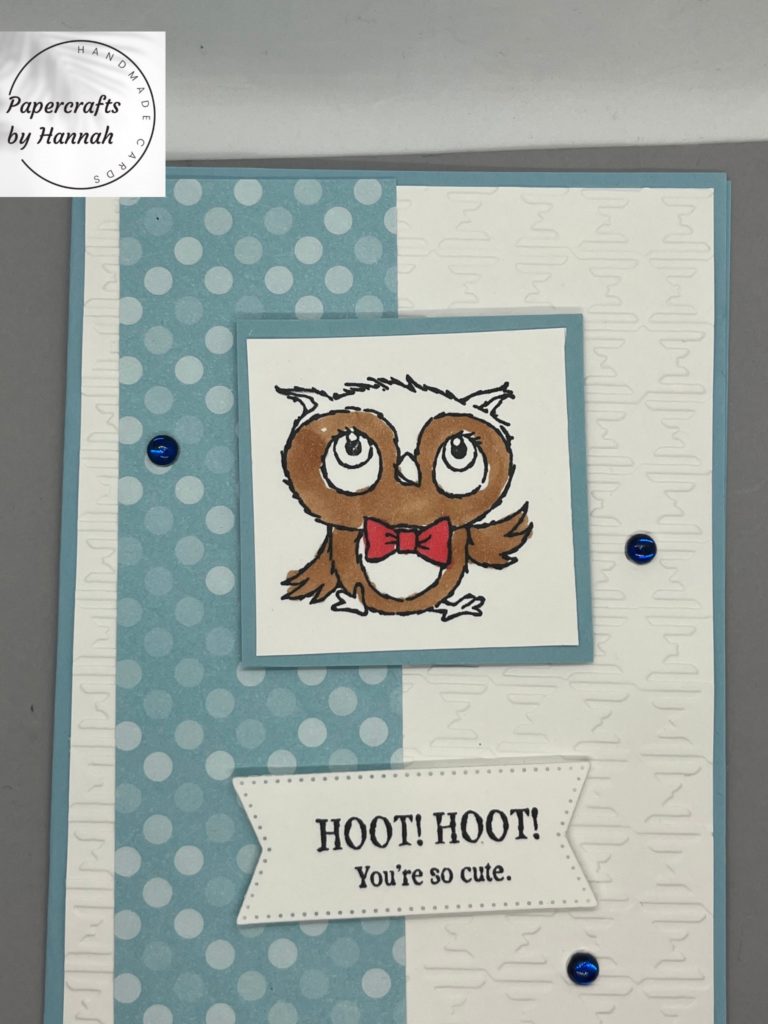
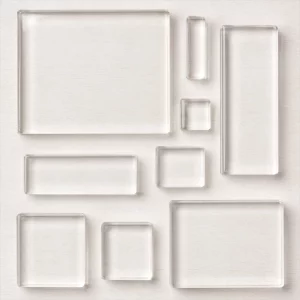
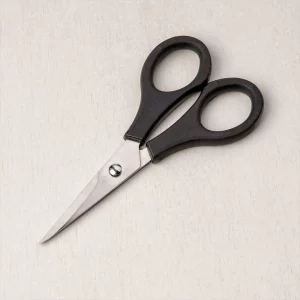
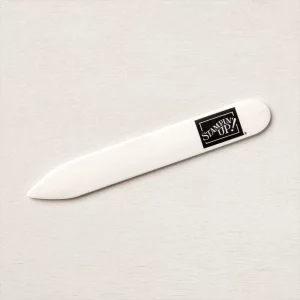
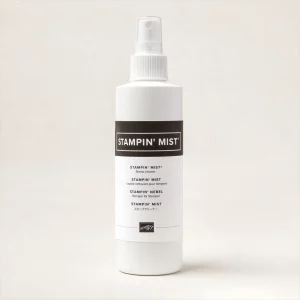
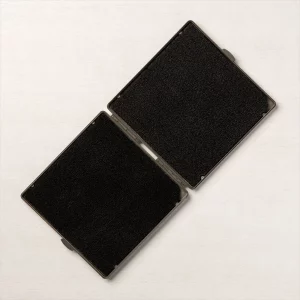
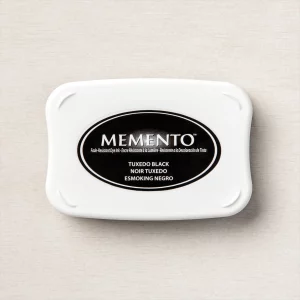
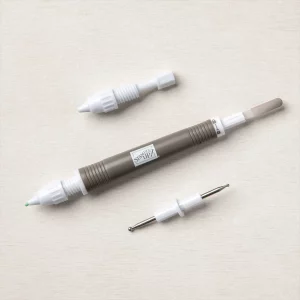
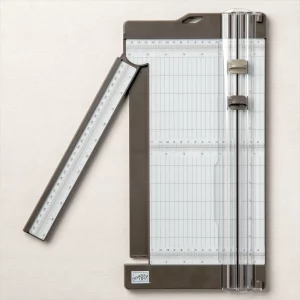
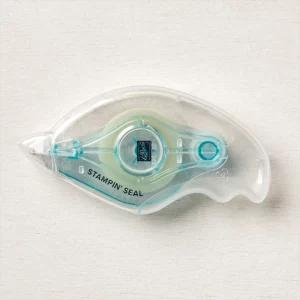
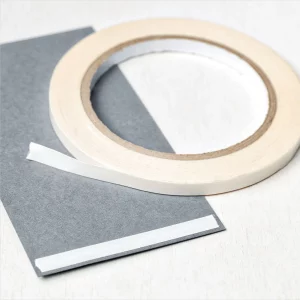

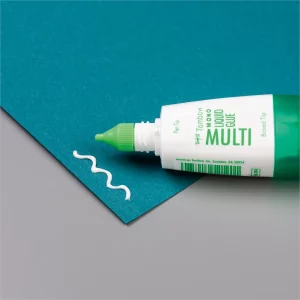
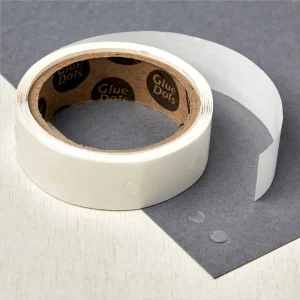
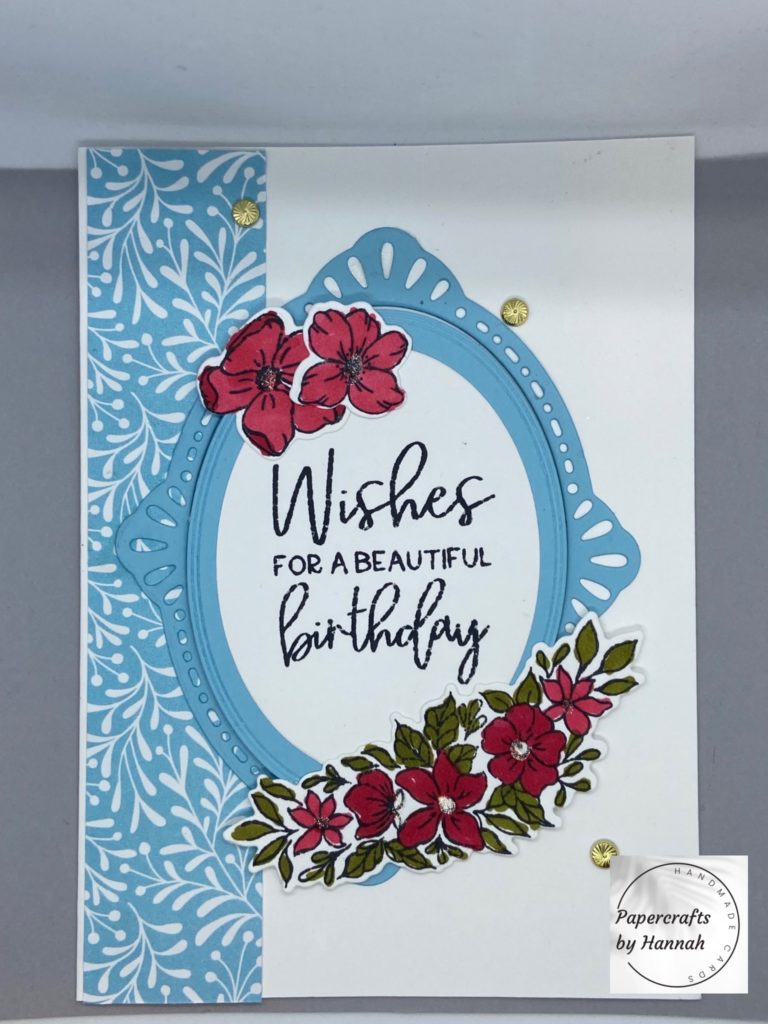
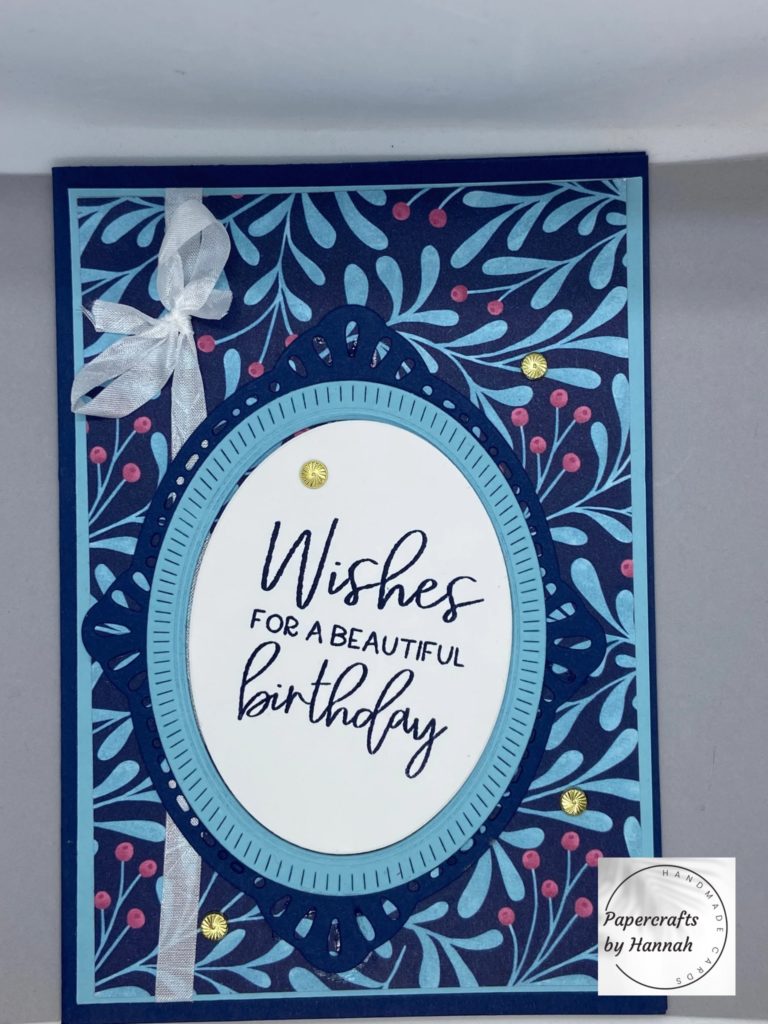
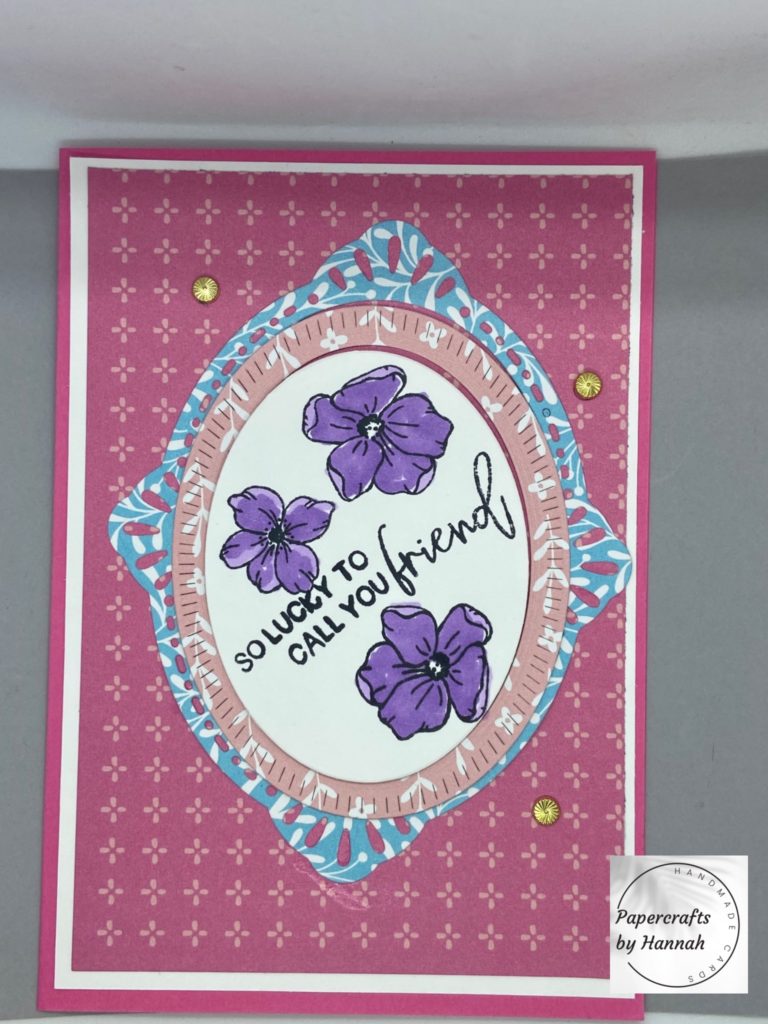
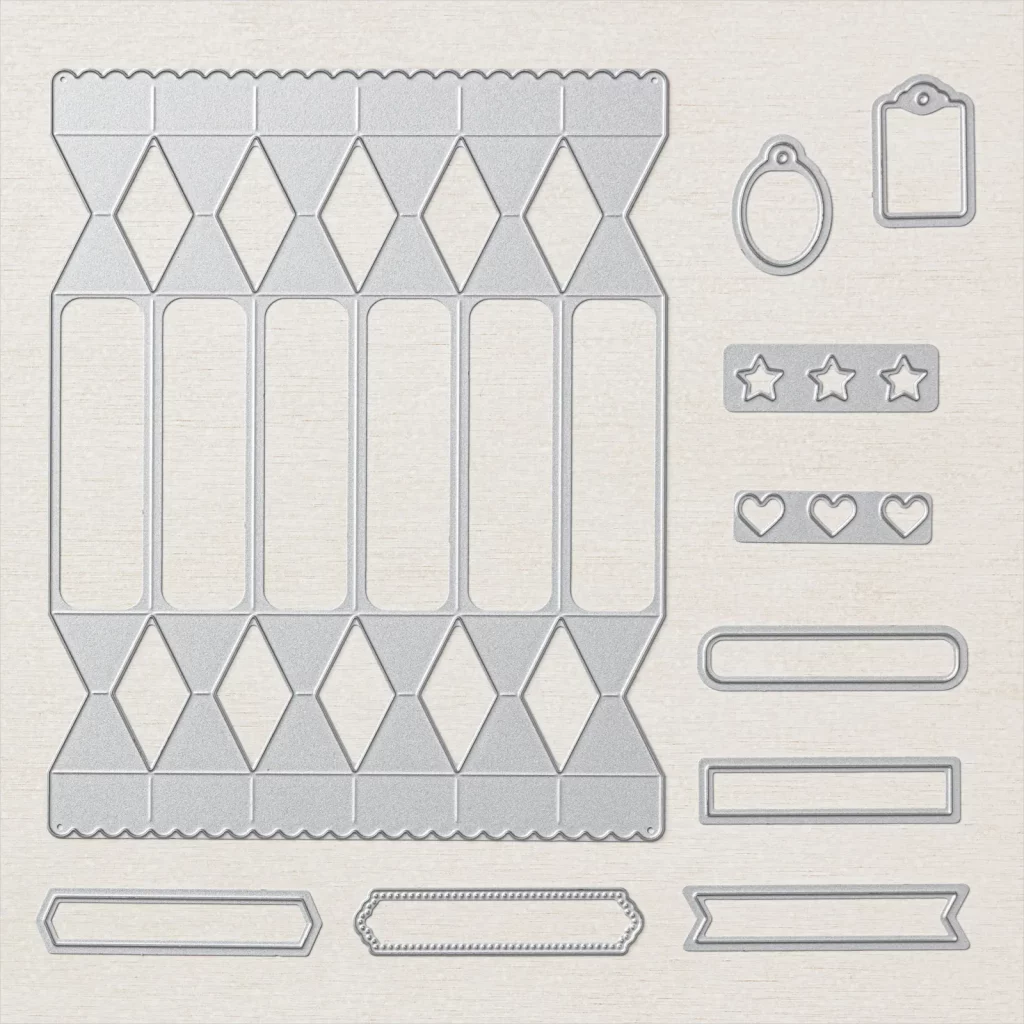
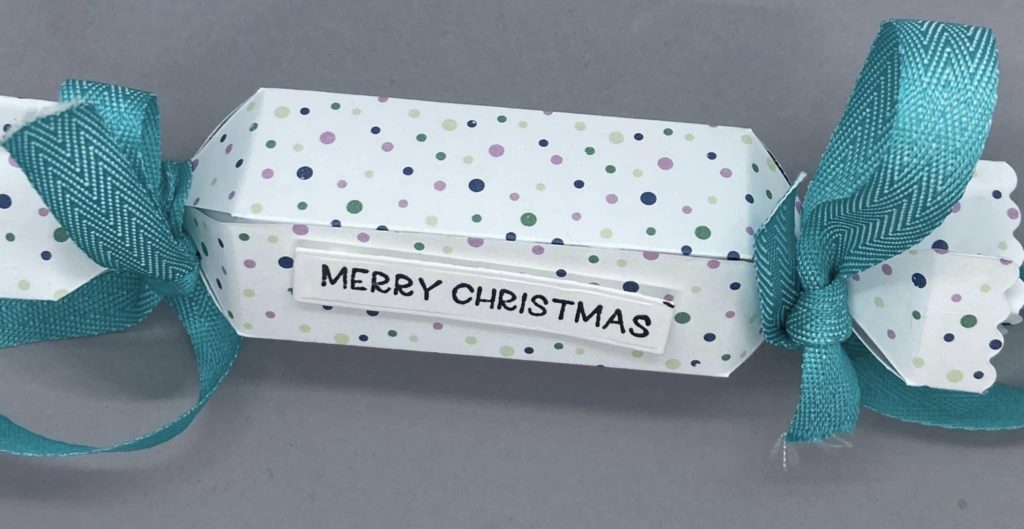
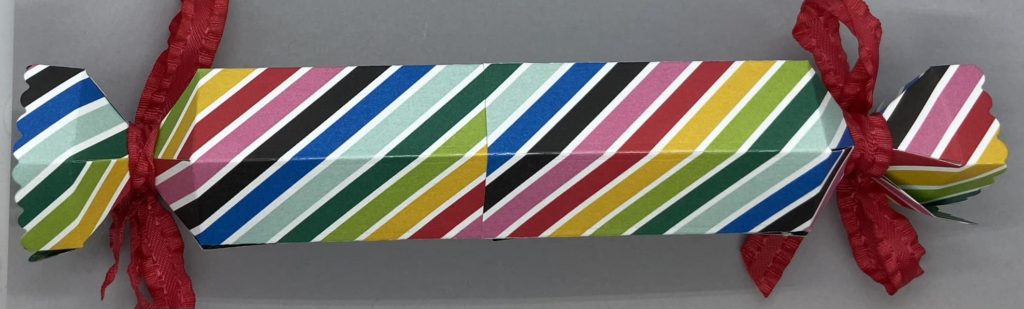
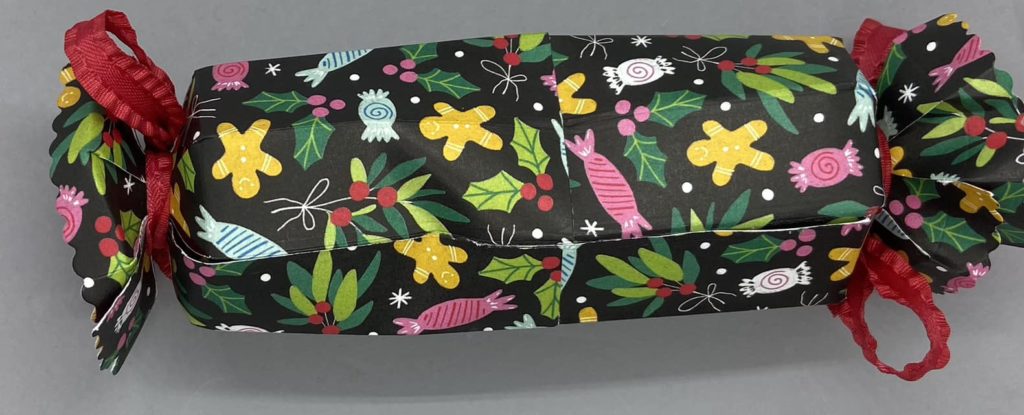
")
 Designer Series Paper")


")
